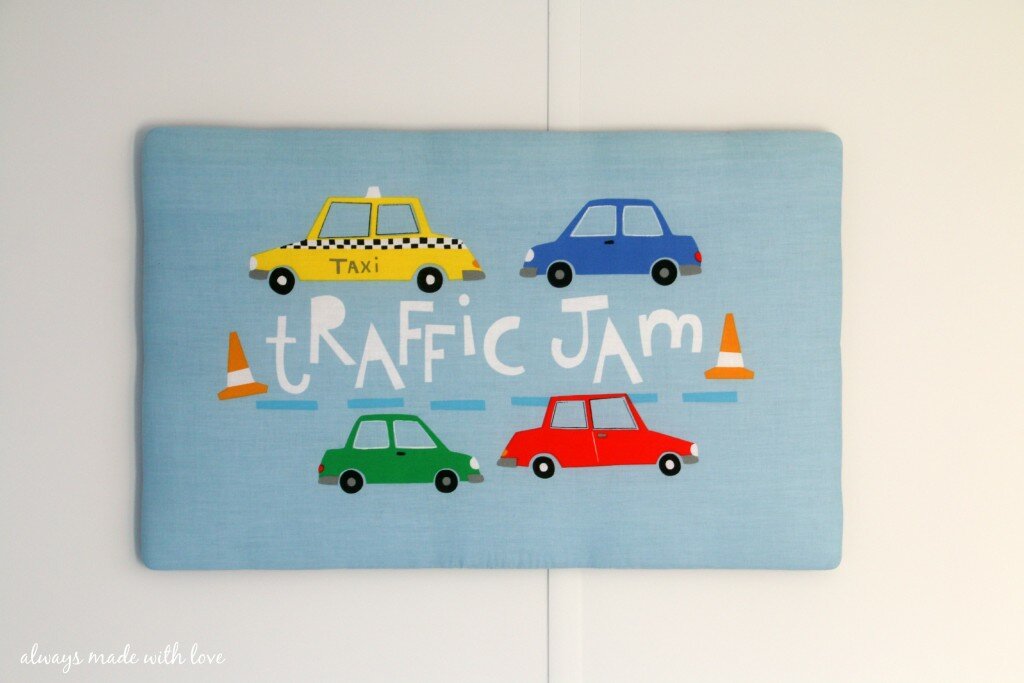
 When putting Sebastian’s NEW Transport Inspired Bedroom together something which I struggled to find that I absolutely loved was wall art. I either found pieces which were not quite right for the look and feel of the room or they were ridiculously expensive and there is no way I was going there for a bit of artwork to be displayed on the wall of my toddlers room for a couple of years.
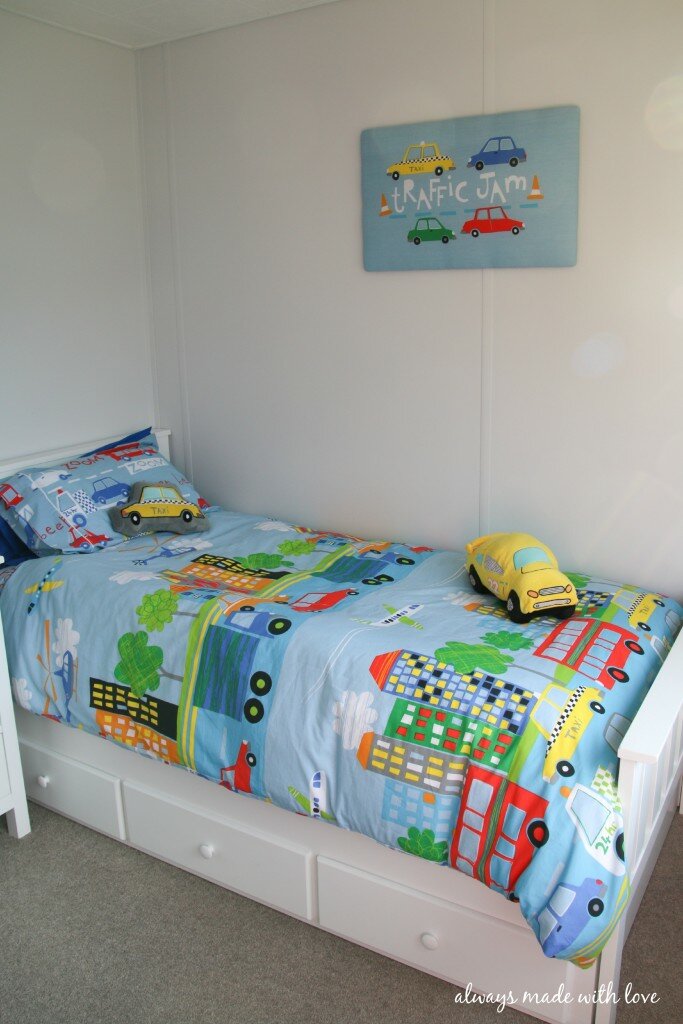
So, after weeks (possibly months) of searching and pinteresting, I decided to make my own (at this point I still had no idea what or how I was going to do this) but I figured I would have more luck!?! Then one afternoon, whilst talking to my Mum (I totally can not take credit for this brilliant idea), she suggested using the pillowcase from the duvet set. As you may or may not know I fell in love with his duvet cover immediately and it fitted the decorating brief for his room perfectly – bright, bold, happy and fun.
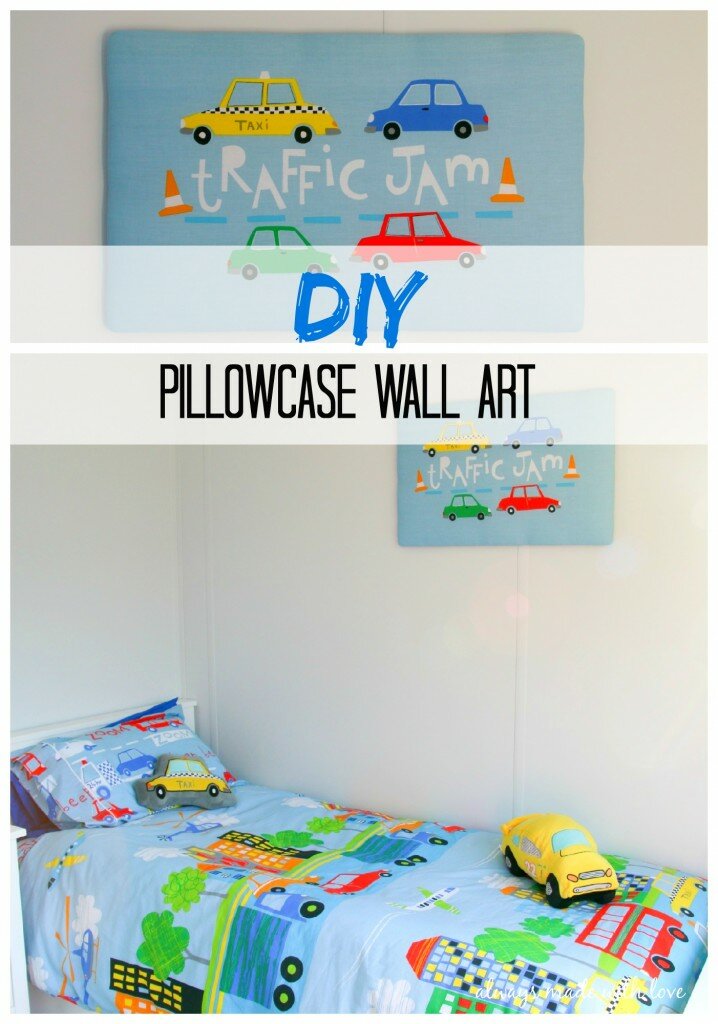
The humble pillowcase which would have gotten lost on his bed amongst all the other pillows and cushions was going to be given a makeover and has now been transformed into a great piece of wall art sitting pride of place above his bed. The best part it totally goes with & makes his room AND it barely cost me anything as I had most of the other bits lying around home waiting to put to good use.
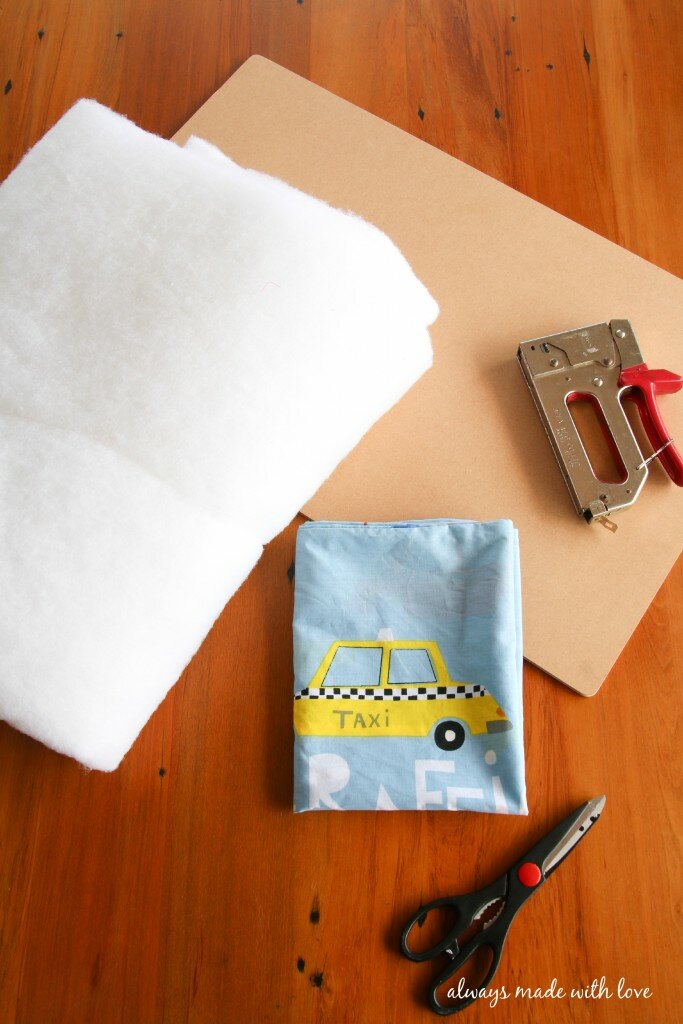
 To create your own DIY Pillowcase Wall Art you will need:
- Pillowcase of choice
- Wood – approx. 5mm thick ( you could always use canvas if you prefer)
- Sand paper
- Quilt Batting, I choose a polyester blend as it is cheaper and only going on the wall (you will need enough to cover your piece of wood/ canvas twice)
- Gun Stapler
- Scissors
- Picture hanging fastenings (we used a couple of little eyes and wire)
- An extra pair of hands, I used my Mums 😉
- Cut your wood to your preferred size. I was happy for it to be just a bit smaller than the pillowcase ( 43 cm x 70cm) itself as it is the only art work going up on that particular wall at this time. Once you have your piece of wood the right size you need round the corners off, ever so slightly and give all the edges a light sand. This will ensure that the wood itself doesn’t cut through the quilt batting and pillowcase.
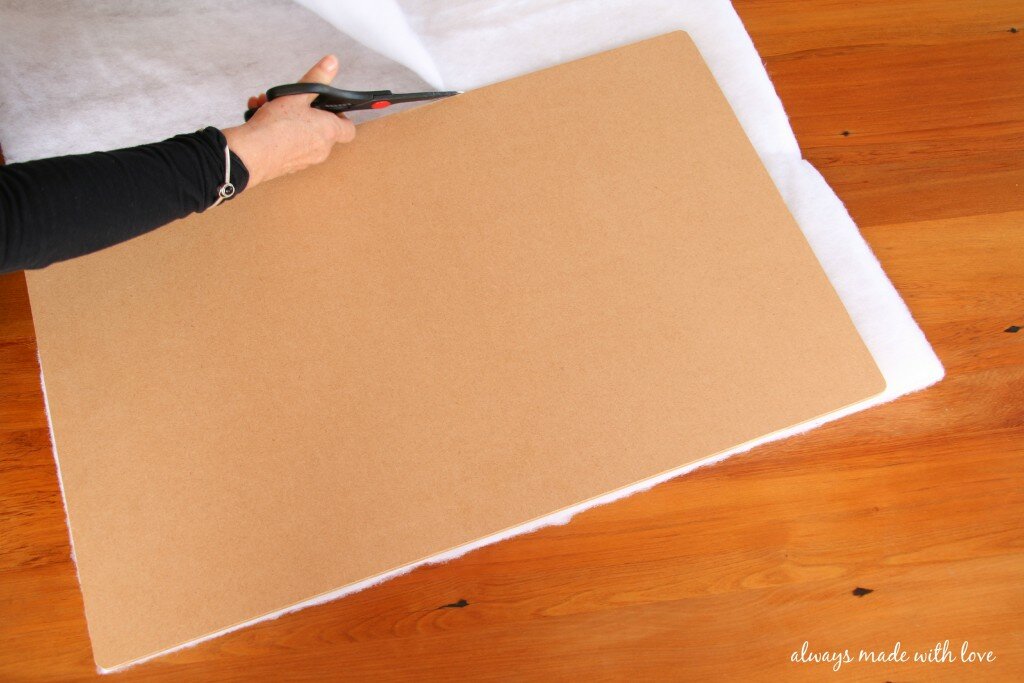
- Cut yourself two pieces of quilt batting – making one piece roughly the same size as your piece of wood (use the wood as a marker) and the other piece approximately 3cm bigger the whole way round. Near enough is ok, you don’t need to go and measure it exactly.
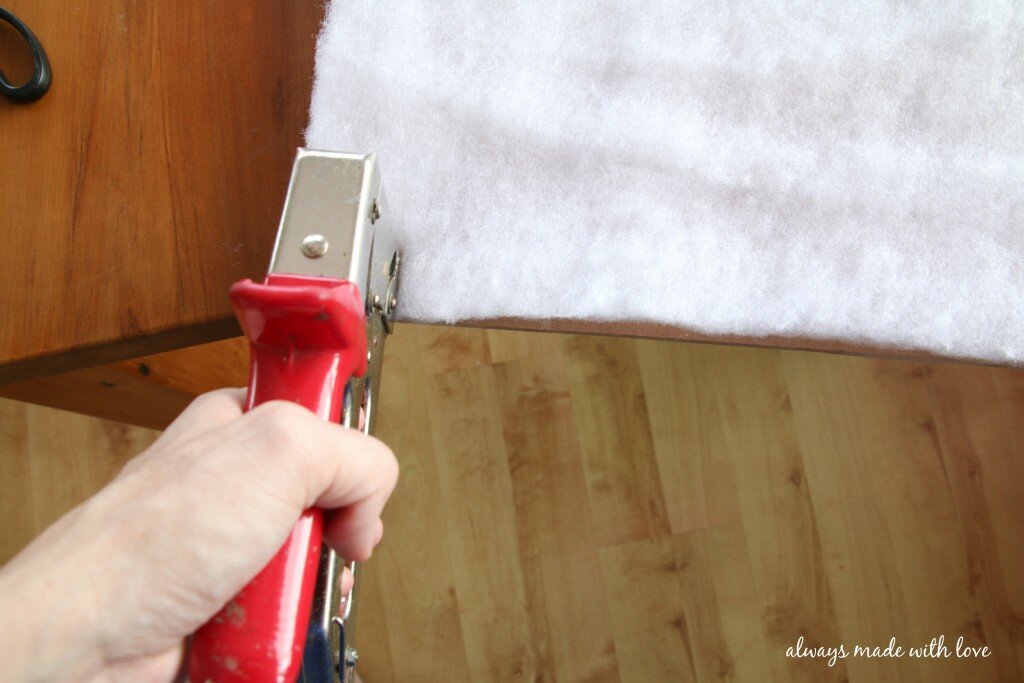
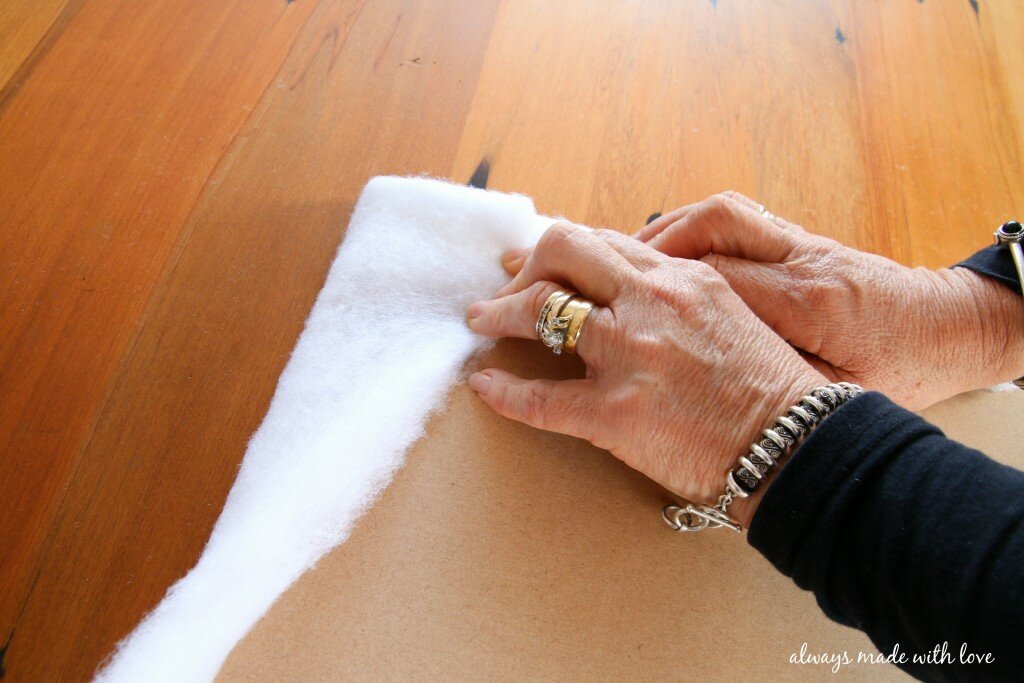
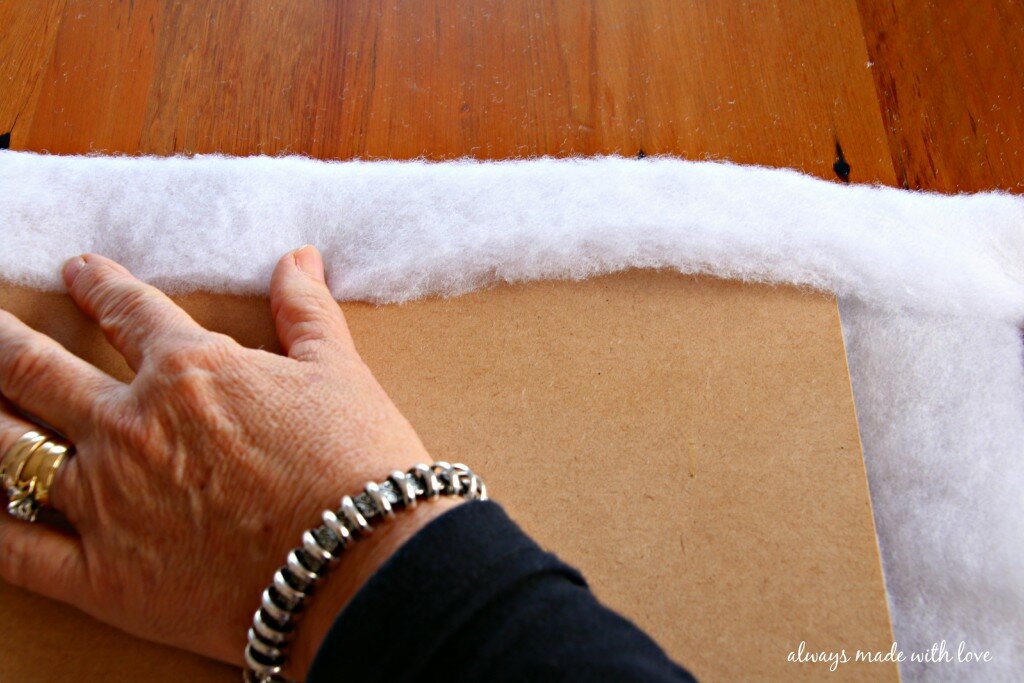
- Take your first piece of batting (the one the same size as your wood/ canvas) and staple it to the wood, just in the corners is enough. Here is where you start to need a second set of hands.. Place your piece of wood in the middle of your second piece of batting and we started on the shorter sides – fold the batting over, pulling tight and then staple. Repeat on the longer sides.
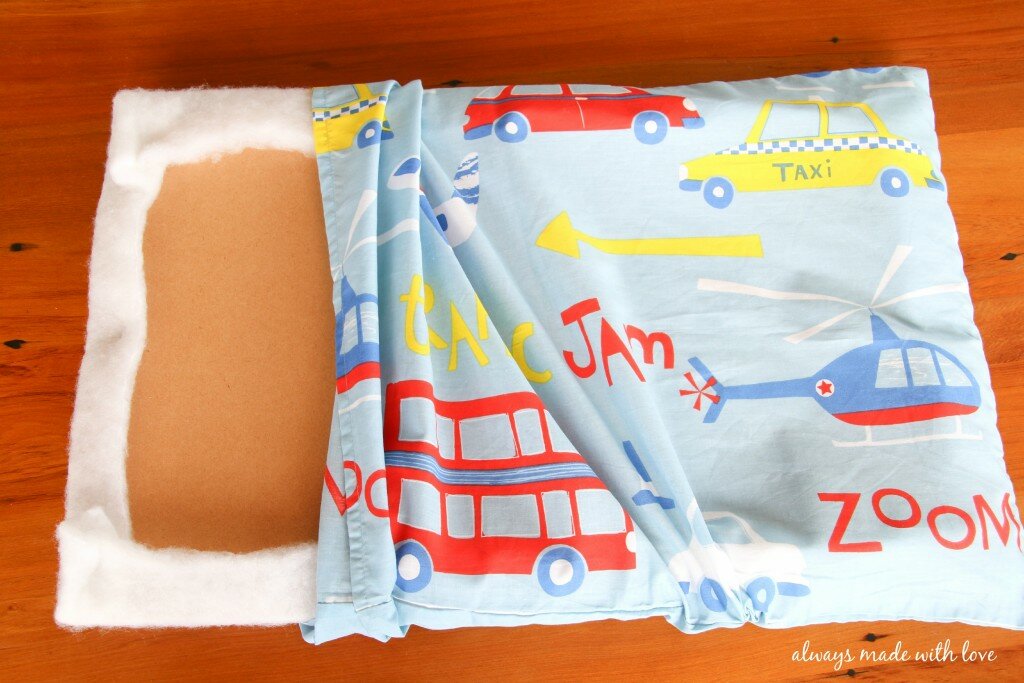
- Slide into your pillowcase, insure it is centred (if your pillowcase is like mine you would hate for it to be lopsided or off centred), pull tight and then staple on the reverse side. This is where a second pair of hands comes in “handy” (excuse the pun) again! We stapled the sides first before tidying up the corners, keeping them as flat and neat as possible.
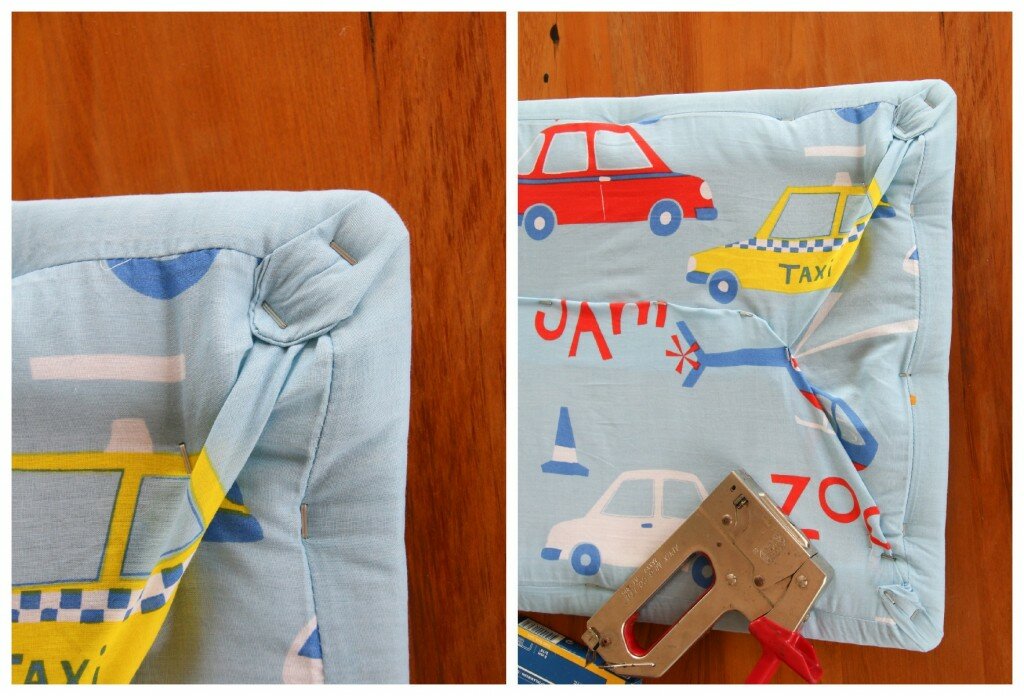
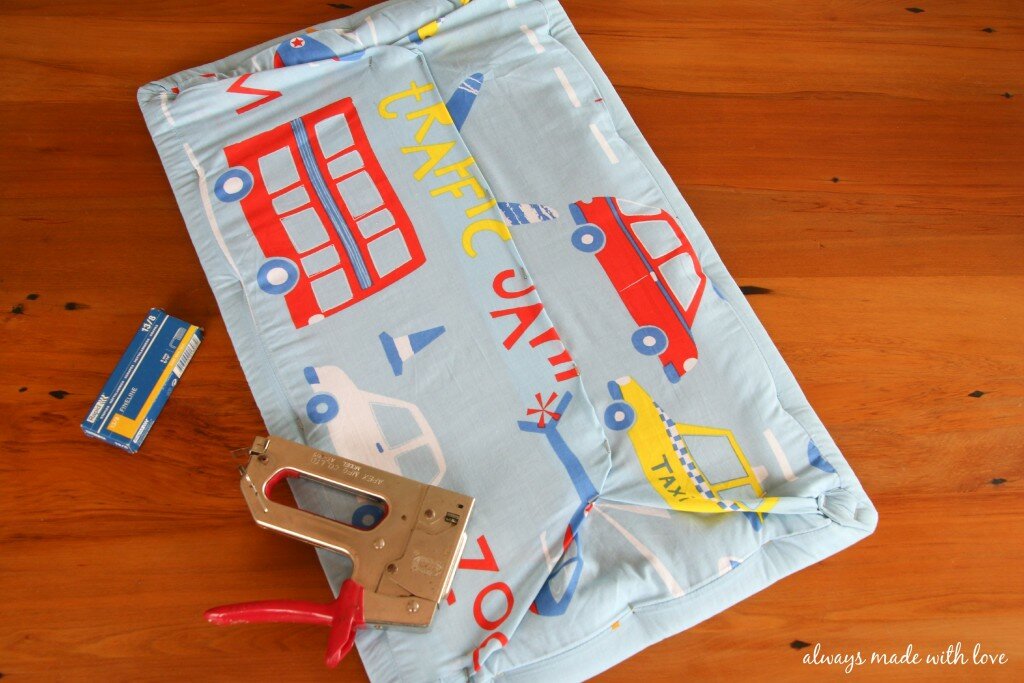
- Finally, attach a couple of picture hanging fastenings to the back about 3/4 way up and hang on your wall.
There you have it, your very own piece of custom Pillowcase Wall Art. I am thrilled with how it turned out, (especially as we made it up as we went along) 😉 and I feel like it finishes off Sebastian’s room perfectly, tying in and carrying the whole theme through.
If you haven’t already, take a look at the other things I have created, upcycled or DIY’ed for Sebastian’s Transport Inspired Room – Shadow Box Houses and Up – Cycled Crates
What do you think of the final result? Do you think this is something you would give a go? Tell me.. What artwork do you have on your kids walls?

What a brilliant idea…and so easy!! I wonder if I can find a giraffe pillow case for Master M’s bedroom!! hmmm
Isn’t it Charlene! I am sure you would be able to find a giraffe pillowcase somewhere xx
Lydia this is such a genius idea! I love it. Thanks for sharing! Xx
Thanks Shannon. Like I said in the post I can’t take credit for it – it was totally my mums idea. xx
Such a great and simple DIY. LOVE the end result. Well done and very clever. xxx
Thanks Maria, I am all for simple, easy and effective! xx
This is such a great idea. An easy way to make wall art for your child’s room without having to spend a fortune. And it will be so easy to switch it out in the future if he wants a change. My kind of frugal decorating!
Haha, yip frugal decorating all the way Mary! xx
Great idea on so many levels – practical, economical, personalised, fun. The finished article looks brilliant alongside the matching bed cover. I’d love to give this a go and could only hope I end up with something as good-looking as you have! Visiting via #BlogFair linky
Thanks for stopping by Robyn.
I am sure you would be able too, biggest tip is two pairs of hands (not just so you can take photos along the way) 🙂 They make it so much easier
.
These are so creative! Love it!
Thank Alison xx
What a great idea! And what an awesome way to preserve those memories! Thanks for sharing at Merry Monday, hope to see you again next week!
Thanks hun!
It sure is and fairly easy to change too xx
Now this is the kind of wall art I could handle – and it looks great, too! Awesome idea!
Hahah… thanks Emma.
I love how simple and yet effective it is. Plus, you can change it pretty easily too.
Thanks for stopping by xx
I was just looking to see if anyone had done this already since I have pillow cases laying around that I would love to see more often. I love the idea and my only suggestion is, especially since the pillow case was reversible, cut it in half at the seams (or rip the seams) to be able to have 2 works of art instead of 1. 😉 Great work, I love it!