 As I am sure you are aware of by now, Sebastian and I love getting creative and most of our afternoons involve an invitation to play of some description. Fairly often that involves ‘messy play’. Recently, painting has become a firm favourite and most requested activity (ever since we got to review this fun box of goodies here). The thing with painting, well there are two things really.. one, they have to dry somewhere and two, they take up so much space. So far so good, we have been lucky enough to have fine weather so they are able to dry on the outdoor table, if not at a pinch the kitchen bench (hopefully drying time isn’t dinner time); as for the space issue, lots of his paintings get filed away, some get given to lucky grandparents or used as birthday wrapping paper and the very special ones get displayed on the fridge until the next special one is created.
Using magnets and blue tack to hold Sebastian’s artwork on the fridge just wasn’t cutting it and they were forever falling down, or being given a helping hand (that’s toddlers for you) to the floor. So after many an afternoon hunting for fallen magnets and / or both trying to convince my little Picasso to leave his painting there, I decided a more robust option was needed.
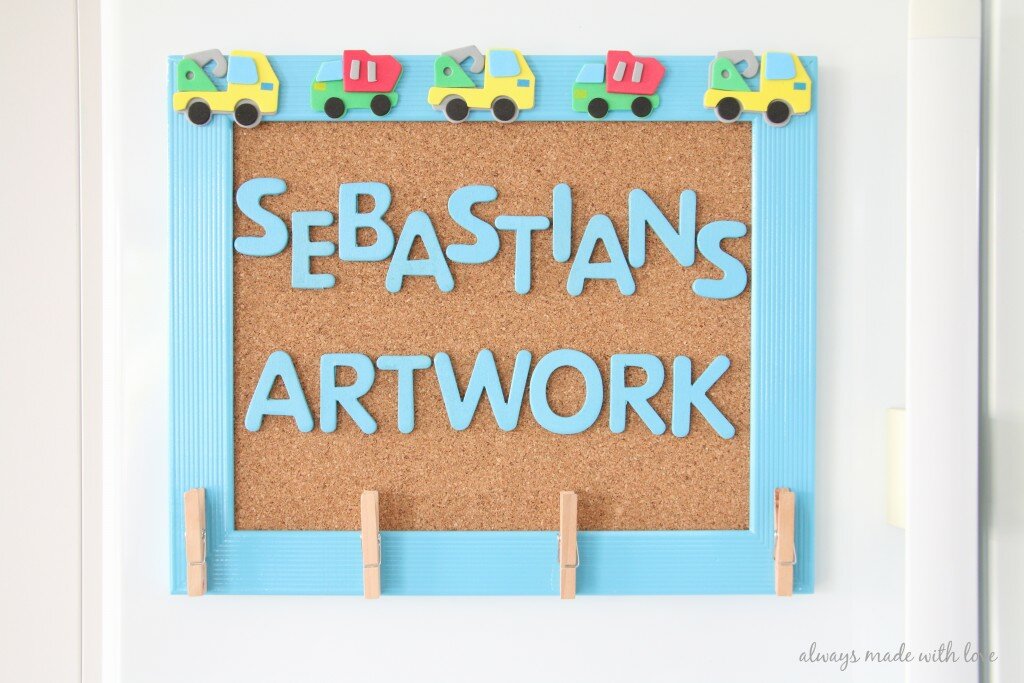
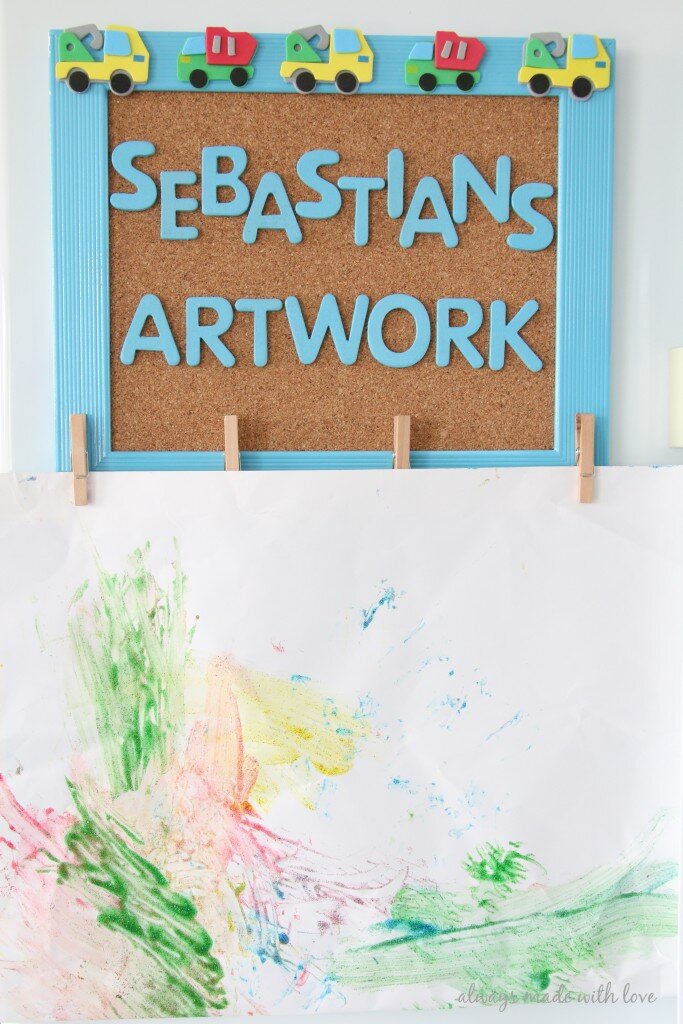 When I originally had this idea I was looking for a large wooden car cut out which I was going to paint and decorate with his name, but as time went on I was unable to find what I was after. Eventually I came up with idea here and I love it. I love that it is adaptable to each child and can be changed as they grow without too much difficulty. Plus, I am able to create another one using the same basic concept when number two is ready for one and personalise it to suit them.
This is a fairly easy DIY and definitely one you will be able to adapt to your own liking.
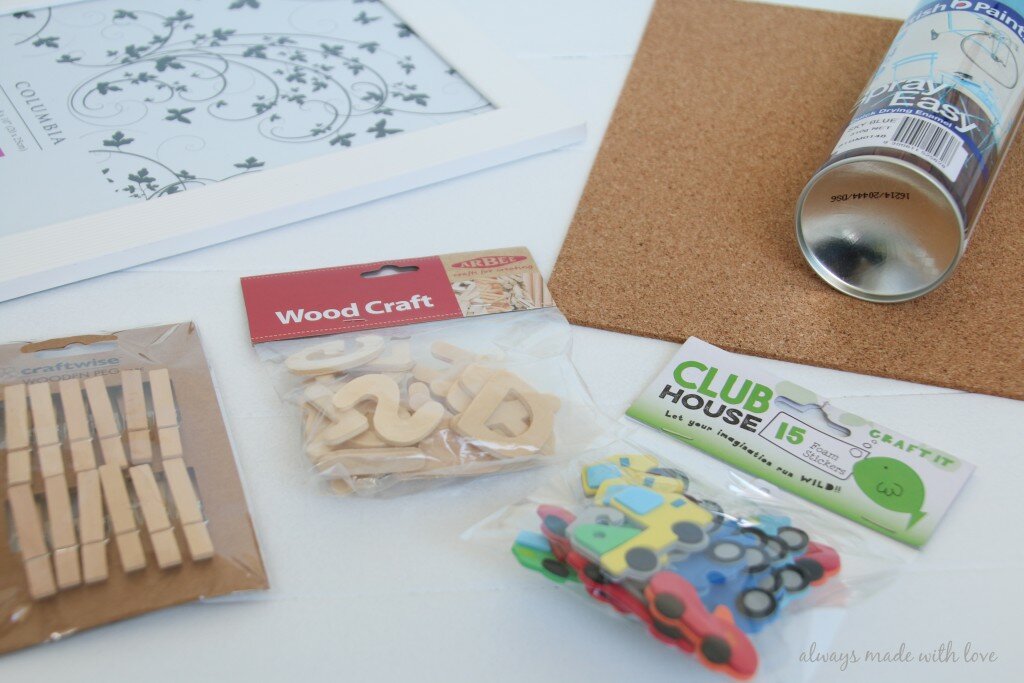 To make your own Artwork Display, you will need:
- A photo frame; I chose to go with an A4 sized one as it fits well on my fridge
- A piece of cork, found at your local craft store (you could also use scrapbooking paper); I just like the cork look and found some real cheap
- Letters, these can be plastic or wooden, (size dependant on your frame)
- Embellishment’s of choice; I found these cute foam vehicles to use
- Pegs, wooden or plastic (size of choice)
- Sand paper (fine grit)
- Spray paint, colour / colours of choice
- PVA or craft glue
- Hot Glue Gun
Start by remove the glass and backing from your photo frame. If you have a use for the glass, good on you (I haven’t come up with one yet); if not wrap it up and discard appropriately. Lightly sand your frame, and wipe down with a soft cloth.
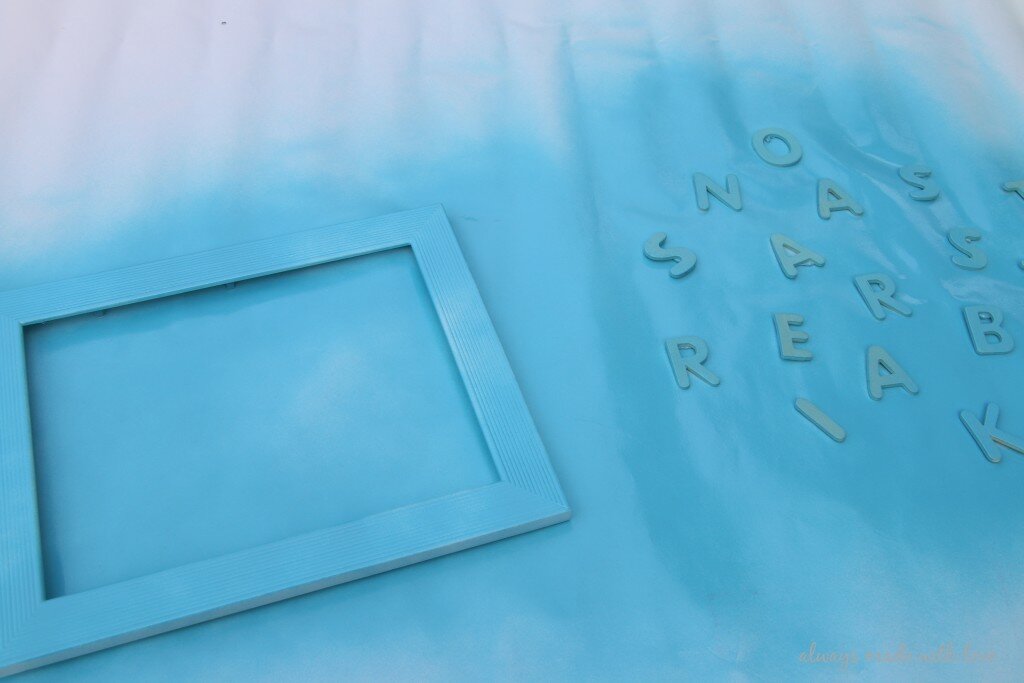
Next, take your sanded frame and letters; in a well ventilated area (I went outside), lay down sheets of newspaper or a drop cloth to protect the surface you are using (even though I put down paper, our drive has a bit of a blue tinge to it, oops! 😉 ). Following the directions on the spray can, evenly apply a couple of light coats of paint, ensuring the you cover all surfaces. I probably applied four coats all up, three main coats and an additional touch up one in the patches I missed. Leave to completely dry.
 Cut your cork to size, using the backing from your frame as a guide. Attach the cork to the backing using your preferred choice of glue, I used good old PVA.
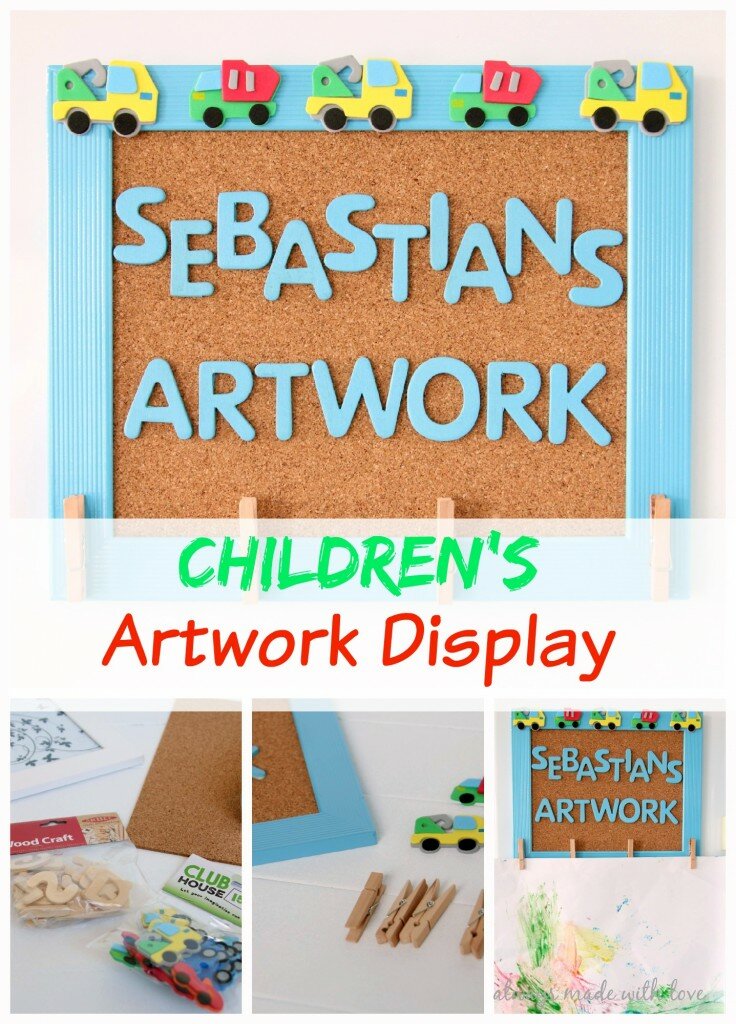
Once frame is dry, reinsert backing. Now is the time to get creative and have fun.. decorate with embellishments; playing around with the positioning of your letters, once happy glue down. As you can see I had to get a little bit creative with ‘Sebastian’s’ name as it was a bit big to do straight across (due to the space I had on my fridge I couldn’t use a frame that was any bigger). This will all be dependant on the size of your frame, length of name you are doing and also the size of the letters you manage to source.
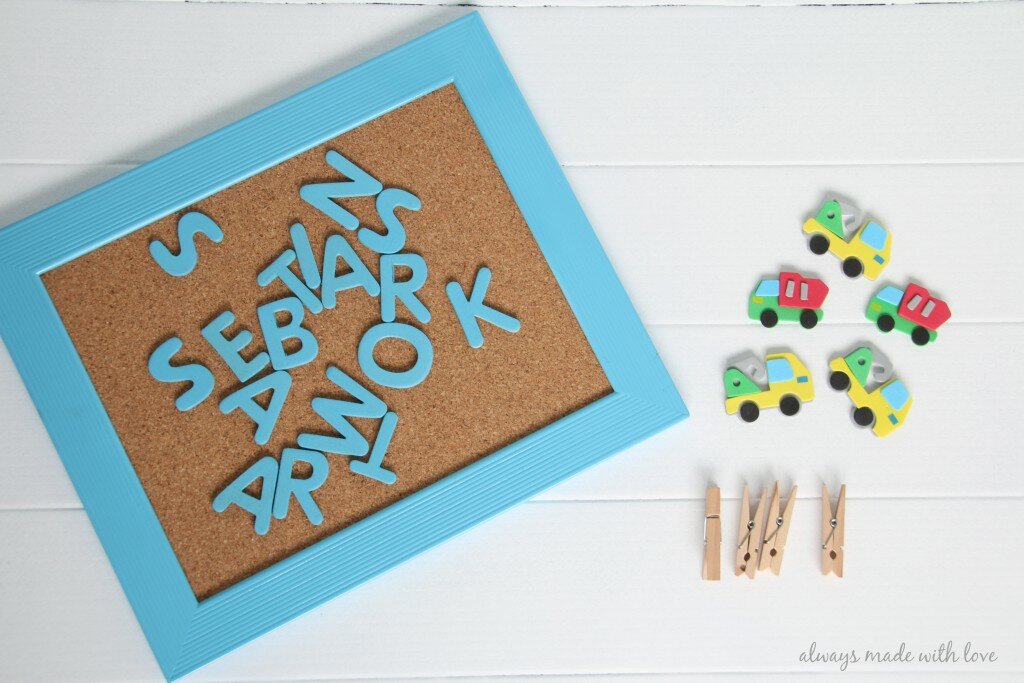 Finally, I added some wooden pegs to the bottom of the frame, I found hot glue worked best here as it is a bit harder for small fingers help with the removal process 😉 I used four medium sized pegs, this allows for multiple pieces of artwork to be displayed and also helps hold those bigger, thicker pieces of part.
There you have it – a simple, easy and effective way to display your Children’s Award Winning pieces of artwork!
What do you do with your child’s artwork? Do you display it in some way or file it away?


What a great idea, Lydia! Love that it’s personalised for Sebastian ! Such a clever Mama you are.
Thanks Charlene, always fun putting things together for my little man 🙂 xx