 “Happy Tuesday Friends! I am thrilled to have Tegan from A Kiwi Mumma sharing this Quick & Easy DIY Letter Décor with you all today. I love how easy this tutorial is and how it can be customized to suit whatever space you have. I love how Tegan has used this as part of her little ones first birthday party décor, and I can see it being perfectly suited for a nursery as well (hmmm, now there’s an idea)!”
I’m so happy to be guest blogging for Lydia on Always Made With Love – it’s always nice to connect with other Kiwi bloggers, so i’m so happy to be able to share this post on her blog. My name is Tegan and I blog over on “A Kiwi Mumma“, I started the blog as an outlet for all my thoughts just after I gave birth to my daughter Ella. I mainly share my parenting experiences, tips, favourite products and I also like to share my favourite recipes or DIY’s so, I am so thrilled to be sharing this post with you and I hope you enjoy it.
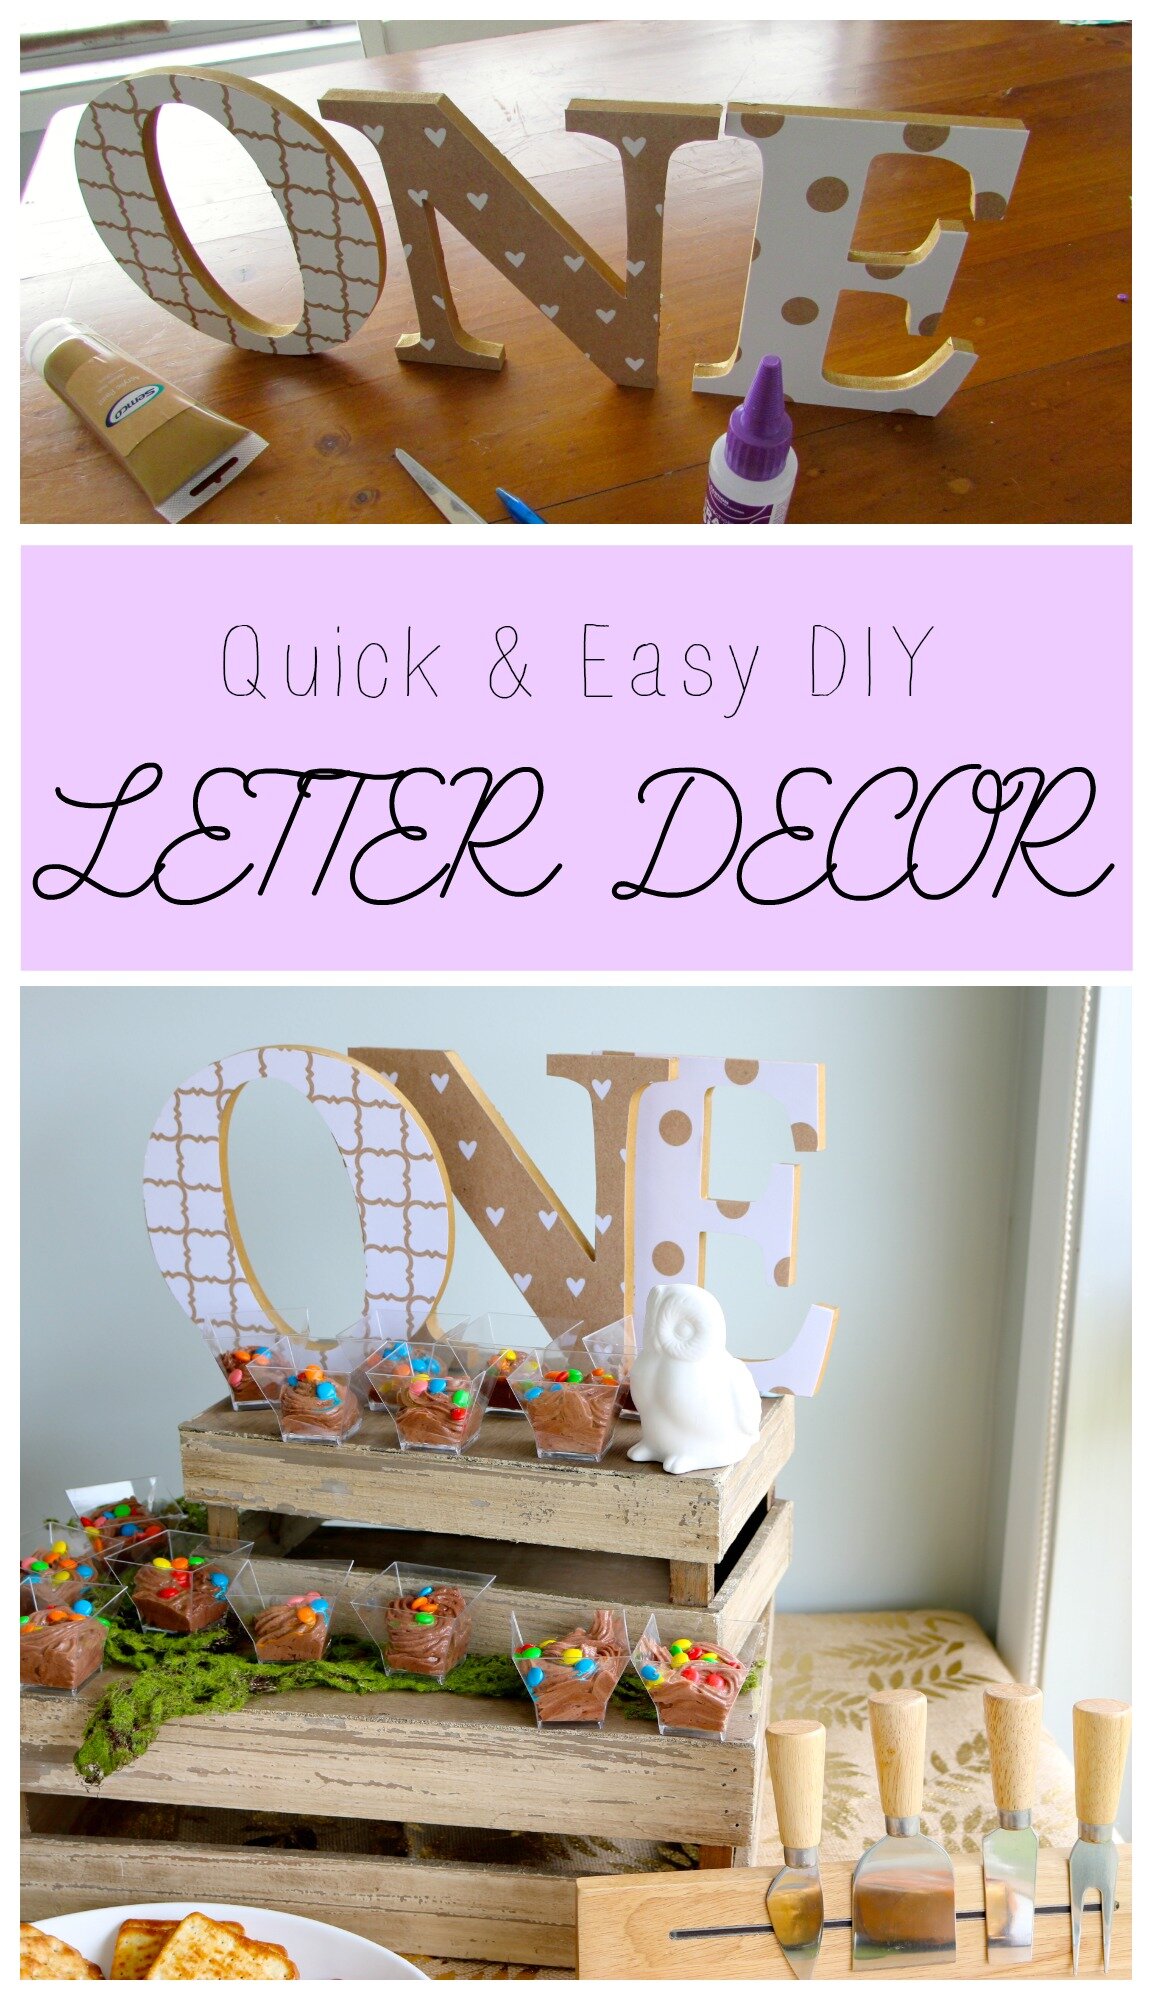
 I had been spending a lot of time on Pinterest looking at ideas for themes and cute party decorations as I was in the process of planning Ella’s first birthday party and so, I decided to turn my hand to a bit of quick, easy DIY with these wooden letters, cute huh?
To make your own DIY Letter Décor, you will need:
- Wooden letters of your choice (mine were purchased from Spotlight)
- Paint, in your chosen colours
- Scrapbooking card or photocopied picture book pages (I would recommend photocopying it on to good quality card stock or photo paper)
- Scissors or a craft knife
- Craft glue
- A pen
- Newspaper (to protect your work surface from glue and paint)
Here’s how I did it…
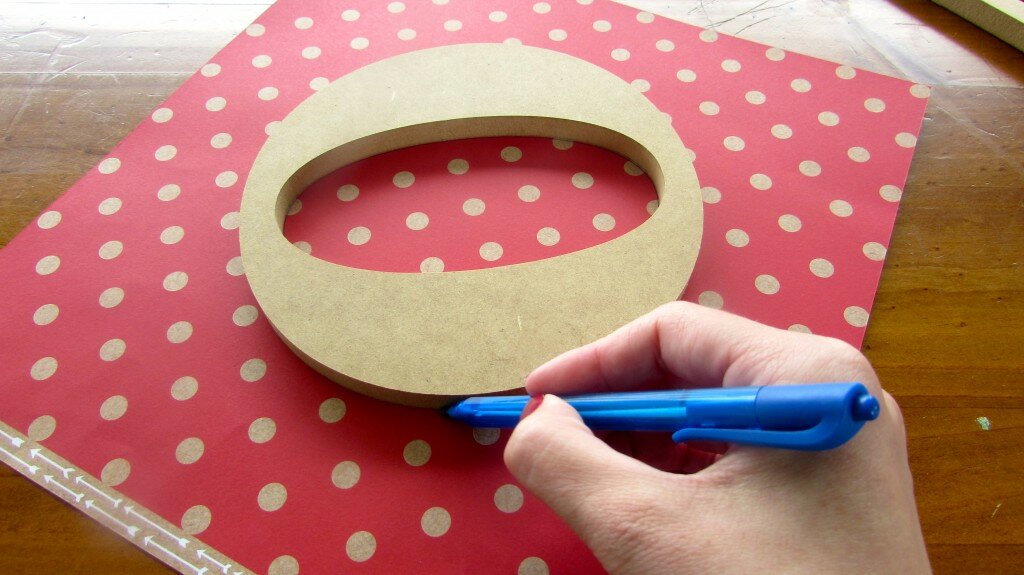
Lay the letters onto your card, trace around the outside with a pen or pencil and then cut them out.

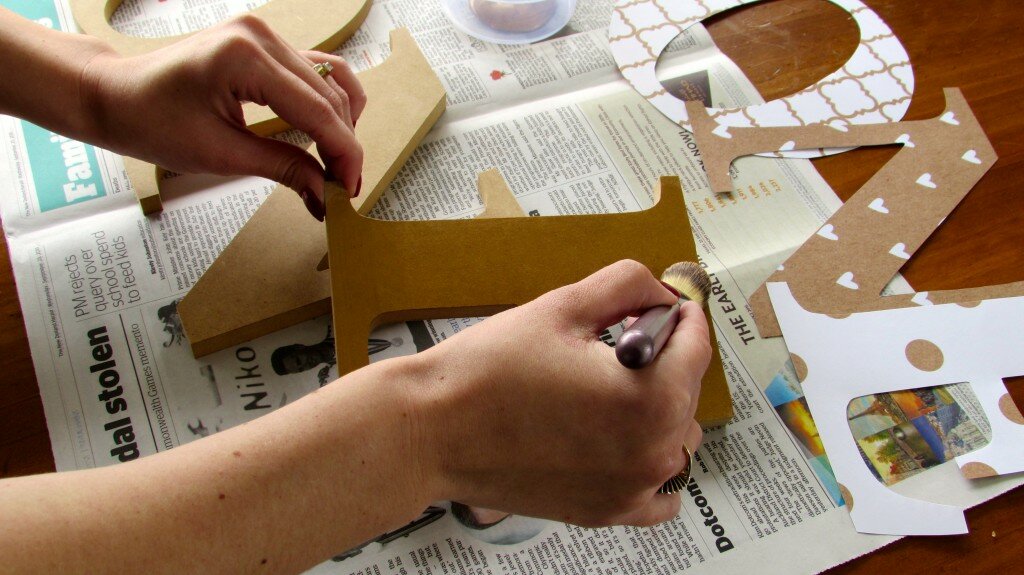
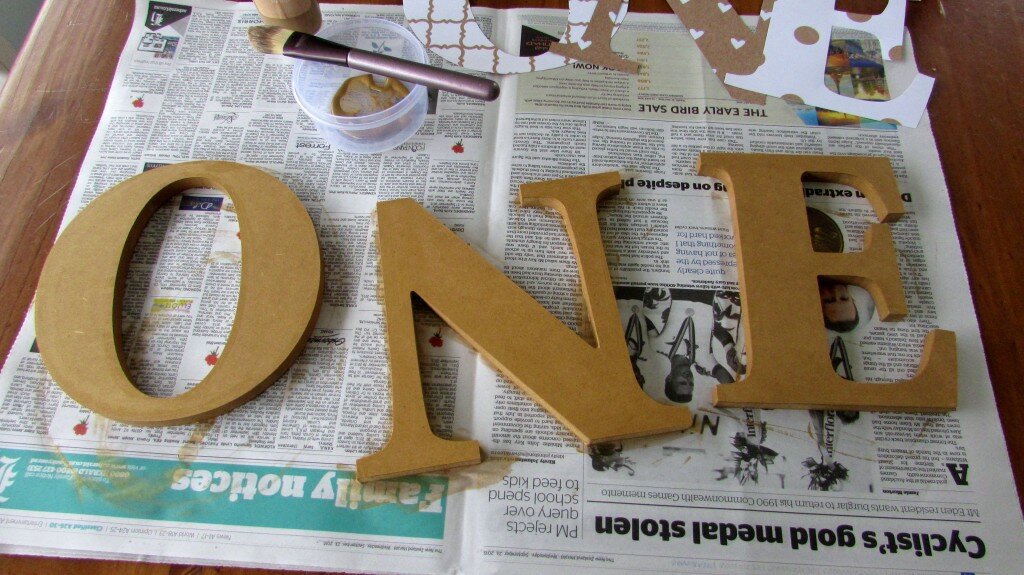
Cover your surface in newspaper and paint your letters, making sure you paint both sides and each edge. I chose a gold acrylic paint, also from spotlight, which can be used on wooden surfaces.


Allow to dry and repeat the process if you feel like you need coverage. The wood will soak up some of the paint so 2 – 3 coats may be necessary – but you could always use a primer first.

Once your paint is properly dry brush on some craft or pva glue to the top surface of your letters and gently place the card on top. Allow to dry. 
 Tip – depending on the thickness of your letters they may not be able to stand upright. You can either use a little blue tack or attach a little piece of wood to the back of the letter to act as a stand.

Easy! So, there you have it – a quick & easy letter décor for any occasion or purpose!
![]()
![]()


Follow Tegan and A Kiwi Mumma – Blog / / / /
Gorgeous Tegan!!!. And perfect timing too, I have just purchased some letters to decorate my kids bedrooms! great tutorial!
These look gorgeous. I love the simplicity of the colours you have chose, Tegan.
Just perfect aren’t they?! xx
This is great! I am definitely going to try this when I move to my new home. Thanks for sharing! I found your blog at Mommy Monday Blog Hop. 🙂
They are great huh? Perfect for personalizing a space.
Thanks for stopping by xx