Weaving is something I have never done before, but after today’s guest post… Well, I might just give it a go! Today, the lovely Jelica from A Pretty Fix is sharing with us a ‘DIY Woven No-Sew Pillow’. Jelica has a gorgeous wee blog all about turning her house into a home. It (her blog) is filled with lots of gorgeous ideas, and trust me when I say ‘you will come away feeling inspired.’ I for one love how it turned out and may just be tempted to give it a go myself (when I have some spare time!?!)
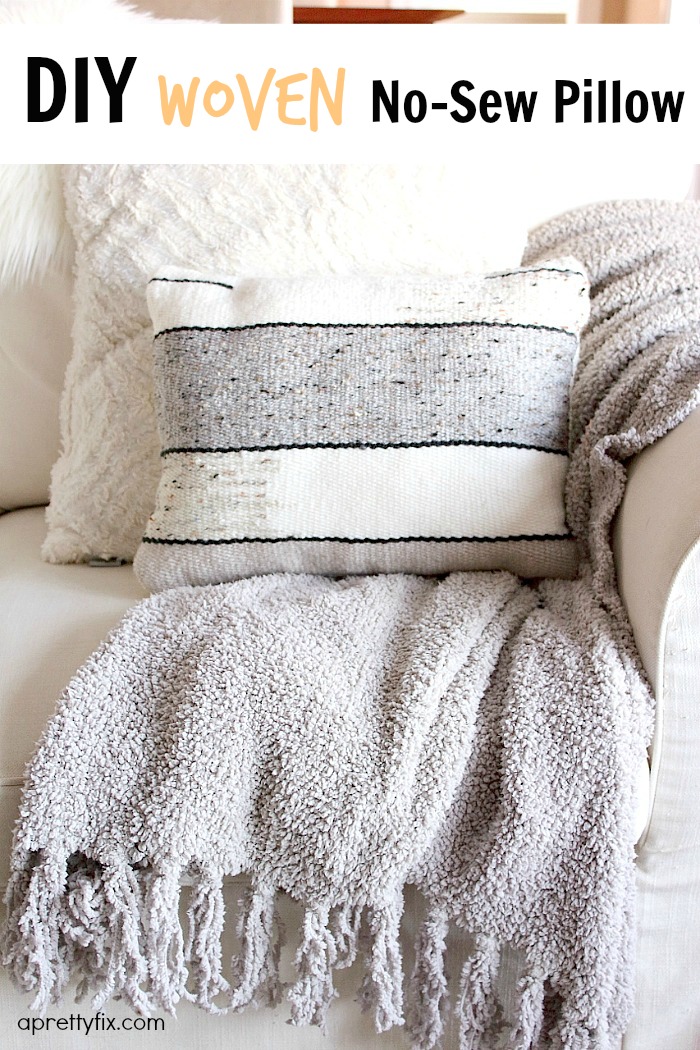
Hello to all of you lovely readers of Always Made With Love! I’m Jelica from A Pretty Fix, a blog about home styling, crafts and DIY’s – all those details that make a house a home. I am thrilled to be guest posting for the first time here! Today, I have a sweet DIY Woven No-Sew Pillow tutorial to share with you.
I first started my adventures in weaving with a basic lap loom that came with a starter kit (which I blogged about in “An Introduction to Weaving”). Lap looms are available on Amazon and Etsy, but you can also make your own basic, budget-friendly one using 4 pieces of wood, a hammer and nails (see “How to Make a Basic Loom”). But if you’re not quite ready for that, then simply make a loom out of cardboard (yep, you read that right)! Just google ‘how to make a cardboard loom’ and you will find plenty of tutorials out there! Honestly, it cannot get any easier than that.
So if you are ready to make your own DIY Woven No-Sew Pillow, then let’s get started.
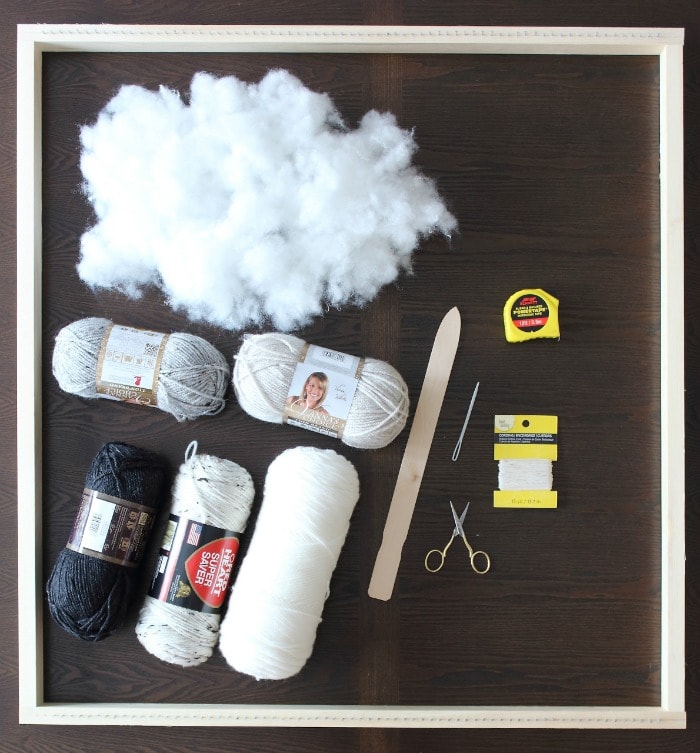
You will need the following materials:
- Loom
- Cotton or hemp yarn
- Knitting yarn
- Tapestry needle (plastic and typically 3 inches in length)
- Scissors
- Pillow stuffing
- Measuring tape
- Optional: Shed stick (resembles a paint stir stick)
- Head pins (not pictured)
- Kitchen fork (not pictured)
- Darning needle (dull tip) (not pictured)
- Tape (not pictured)
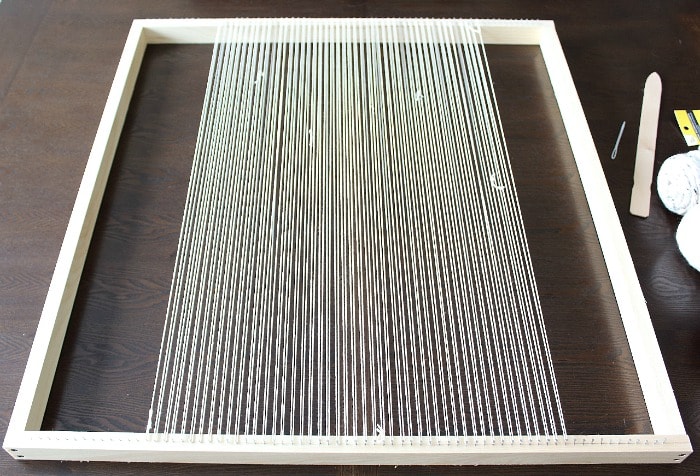
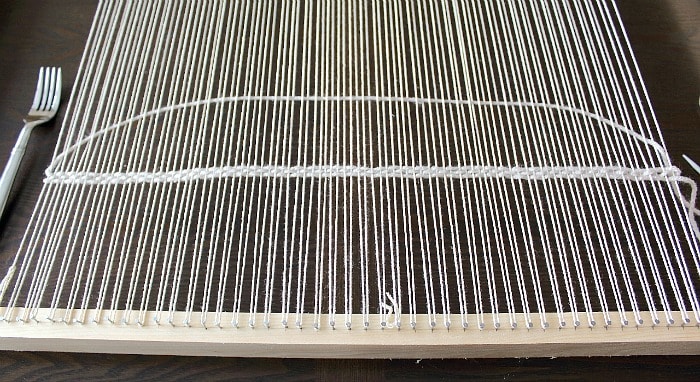
Step 1: Create Your ‘Warp’
The ‘warp’ is what constitutes the vertical strands in your weaving. It is the foundation that holds together the yarn that you will be woven through the warp horizontally. I am using my homemade nail loom for this project.
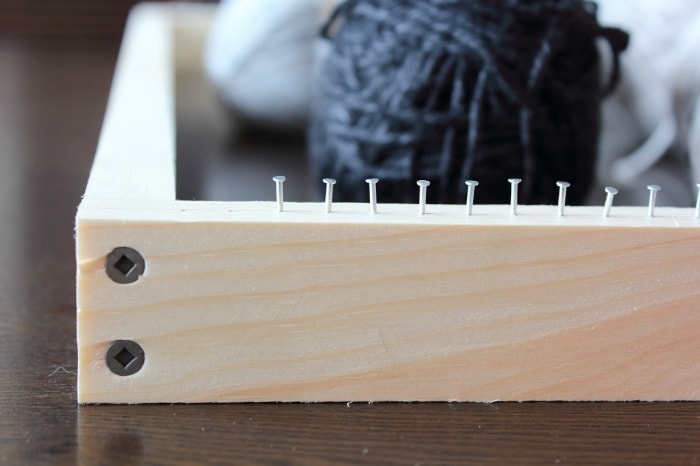
Taking your cotton or hemp yarn, create a loop knot and place over one of the nails along the bottom of your loom. Pull upwards and wrap the yarn around the nail directly above, starting from the left side and moving to the right, then straight back down. Then wrap the yarn around the nail next to the one with the loop knot, going under the nail, moving from left to right and then back up again.
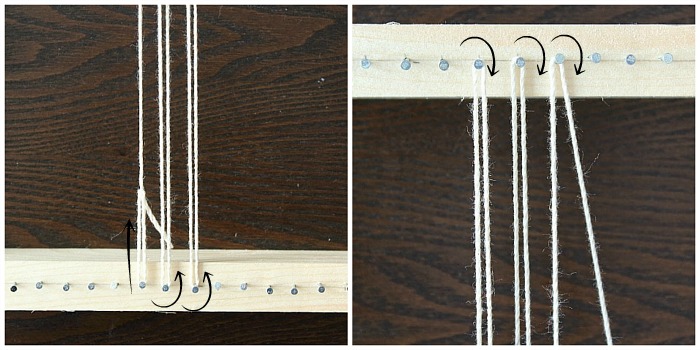
Continue doing this until you have sufficient width.
Tip: If this is your first time weaving, make sure your warp is not too tight. As you begin weaving, the warp strands will tighten along the way, so you will want some slack, otherwise your weaving will bow in the middle.
Step 2: Begin Weaving
For this project, you will be creating 2 weavings, comprising the front and the back of your pillow cover.
Let’s begin weaving the front first.
Snip off a long piece of yarn (a couple of feet to start) and thread your tapestry needle. Taking your threaded needle, begin weaving horizontally across your warp, moving over and under each strand.
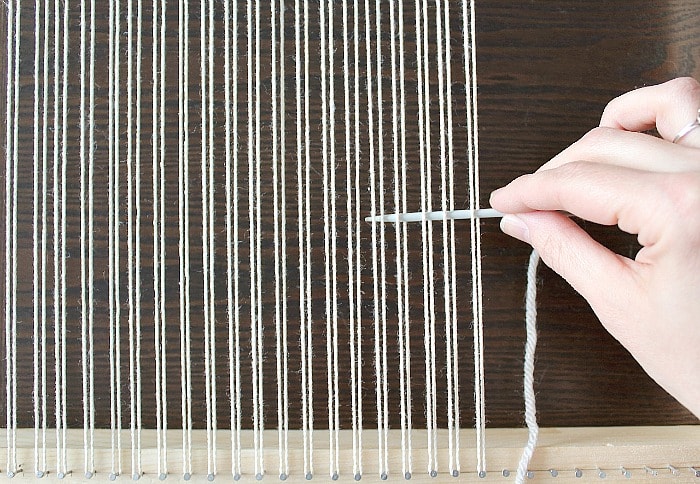
Once you reach the opposite end of the warp, pull the rest of the yarn in the same direction until there is about 3 inches of yarn ‘tail’ peeking out on the side of the warp where you began weaving this first row.
Next, begin weaving back toward the ‘tail’ end of the warp, moving your tapestry needle over and under each strand, as before. For the second row, you will need to weave your yarn on the opposing side of each strand as you make your way across. (In other words, if after completing your first row, you end up over the last strand – as I did below – then begin the next row by starting under the same strand).
When you have used up your first piece of yarn, simply cut another length and begin a new row.
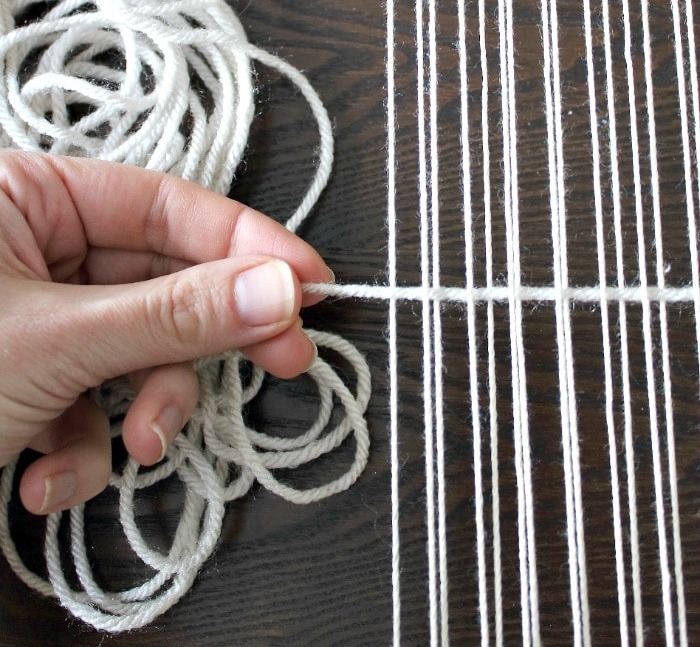
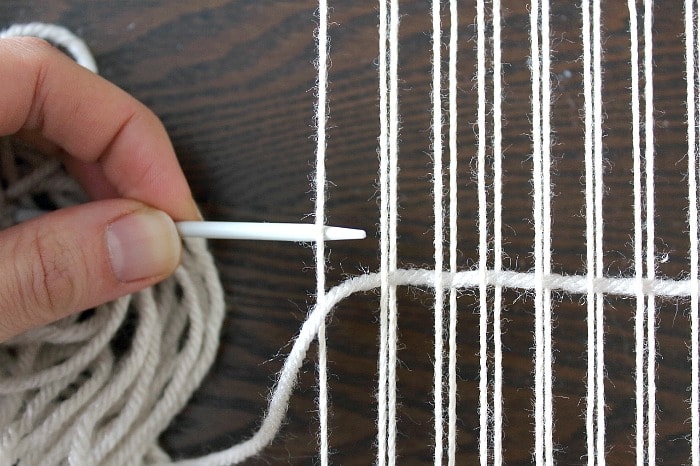
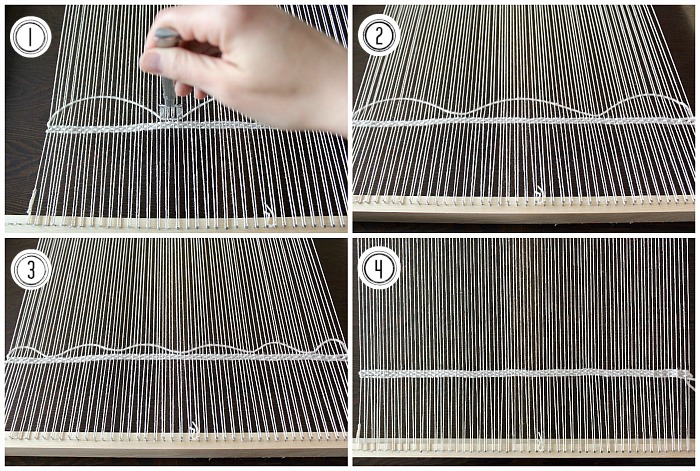
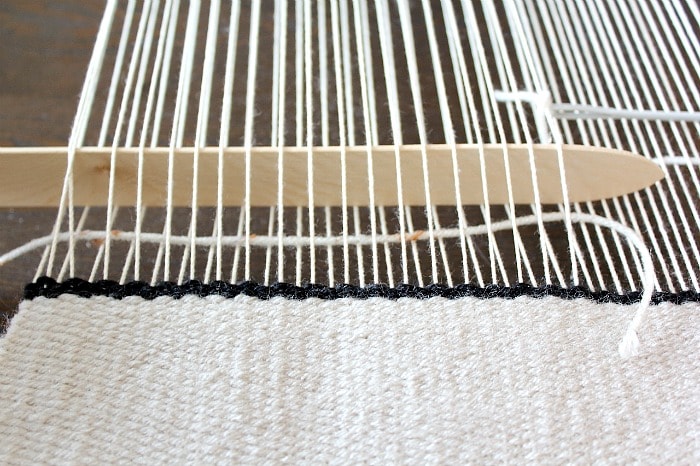
Tip: It can be tempting to tighten your yarn as youweave, but it is best that you don’t. If you do it will cause bowing in the middle. To prevent this, create an ‘arc’ as you weave, as pictured below.
Gently push the yarn into place with a fork, creating smaller and smallerarcs until there are no arcs left:
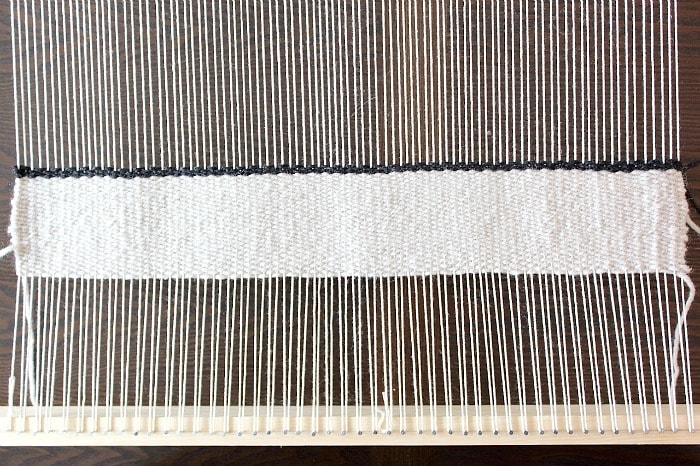
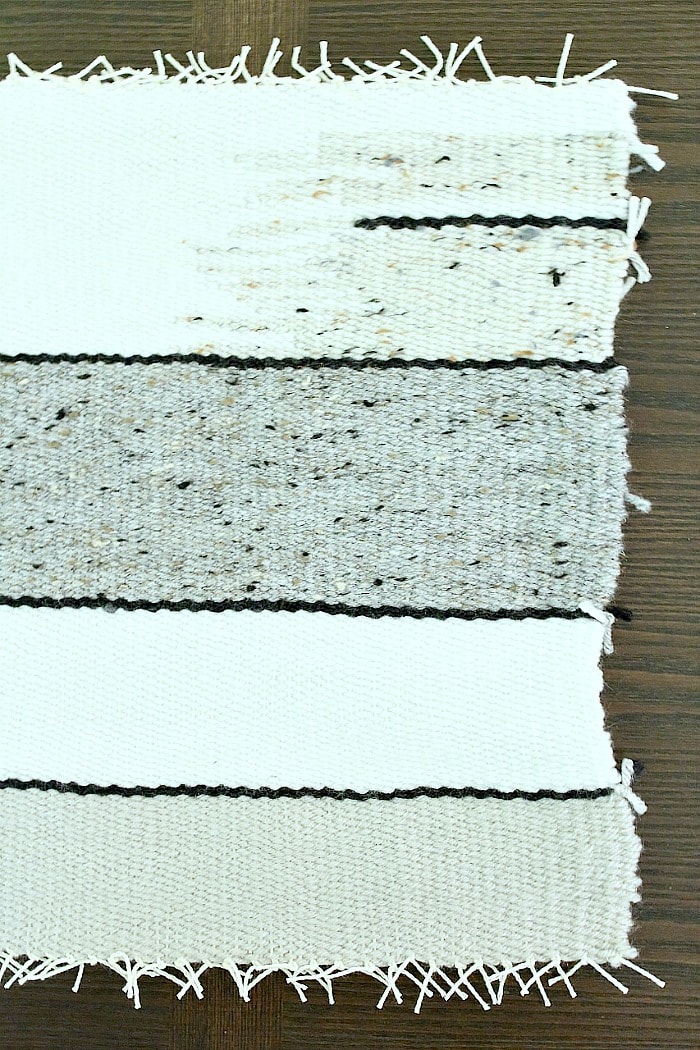
Continue weaving, making your way up the warp, one row at a time, changing colours when necessary.
Step 3 (Optional): Hatching Technique
Most of this weaving consists of basic ‘over and under’ weaving. For this project, however, I used one other technique called ‘hatching.’ Hatching is used to blend colours together. It is by no means necessary for this pillow weaving. But if you have the ‘over and under’ down pat, and you’d like to try hatching, here’s how: Using two threads, begin weaving one from the left and one from the right, within the same row until they meet – you decide where you wish the two to meet.
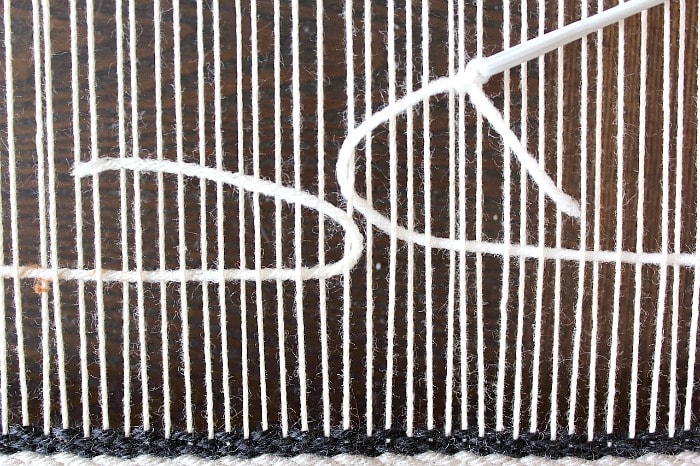
When the two yarns meet at the same strand, then simply wrap each one around that common strand. Now have each yarn head away from the other in the opposite direction.
Tip: Because I have only one tapestry needle, I used it to weave from the right and used my shuttle to weave from the left. Simply move the shuttle over and under strands as you would your needle and then
pull the yarn through with your fingers.
Continue in this way for as long as you wish to blend any two colours together. This is what my hatching looked like:
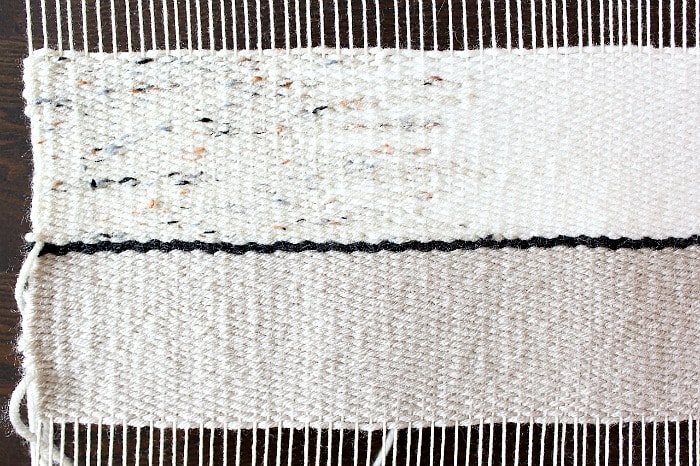
Continue weaving, alternating between ‘over and under’ and the hatching technique as you make your way up the warp.

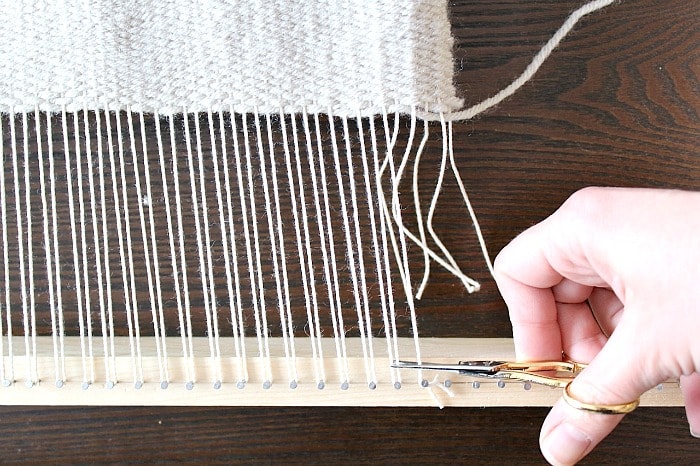
Step 4: Remove Weaving From Loom
Once you have completed the front side of the pillow, remove by snipping the warp strands.
To prevent the weaving from unravelling, tie a double knot at the point where the warp strands meet up with the weaving.
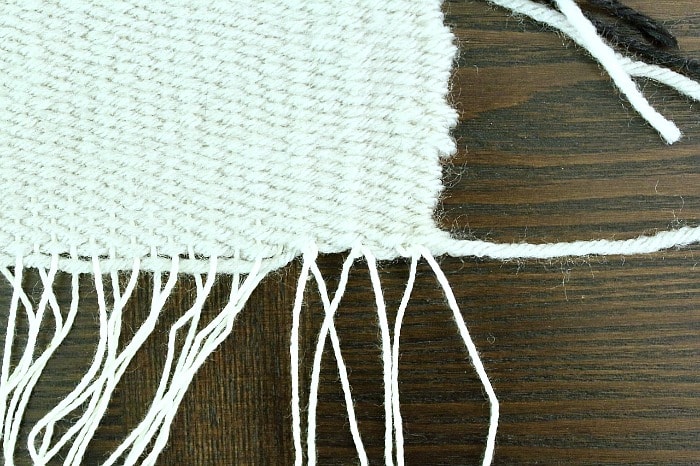
Do the same for the loose yarns. Tie together where possible, or weave back into the weaving.
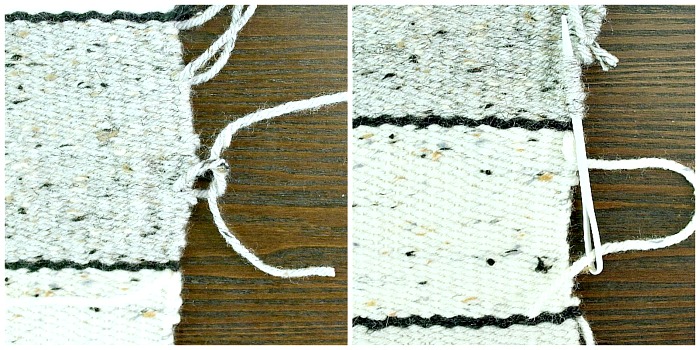
Clean up all the lengthy threads by snipping them short.
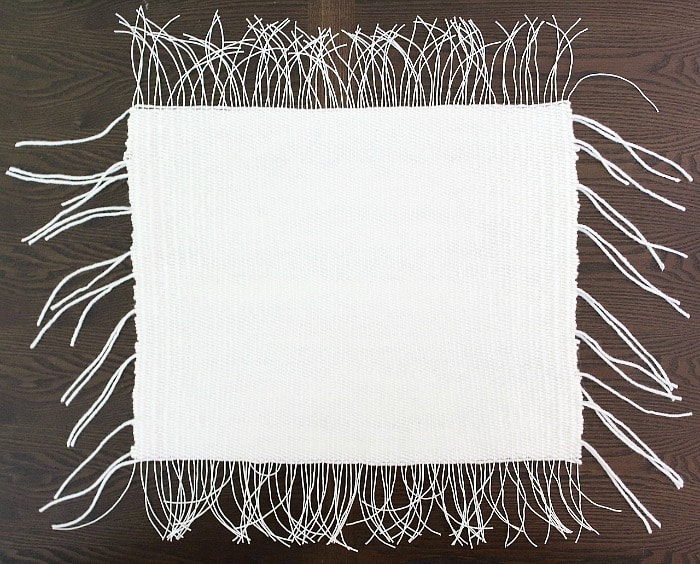
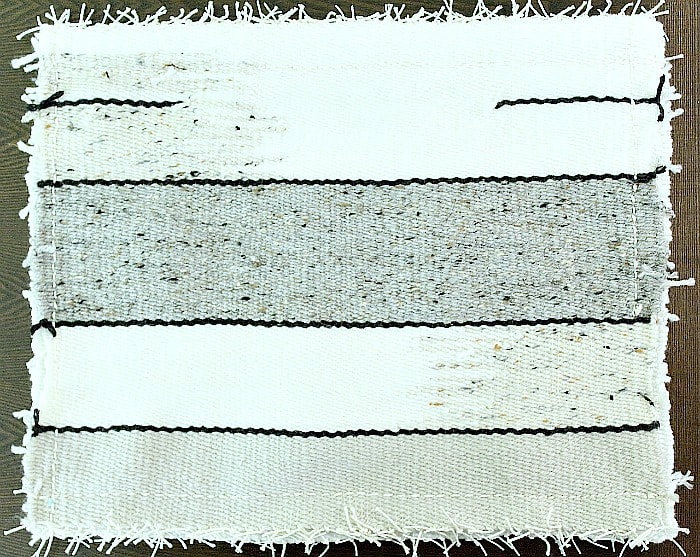
Step 5: Make the Back Side of Your Pillow
Once you’ve mastered the front side of the pillow, the back will be a cinch. Just repeat all of the above steps. For this pillow, I created a solid colour on the back and used the simplest ‘over and under’ technique to complete it.
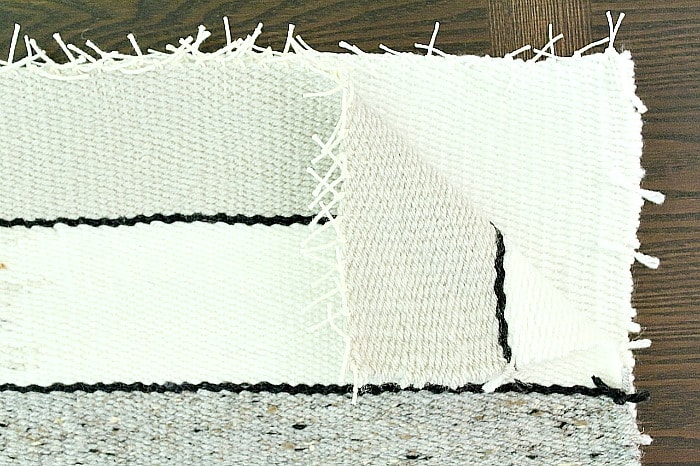
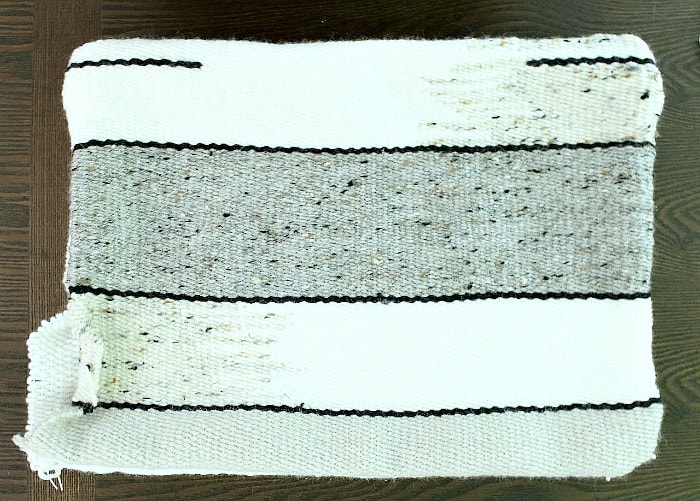
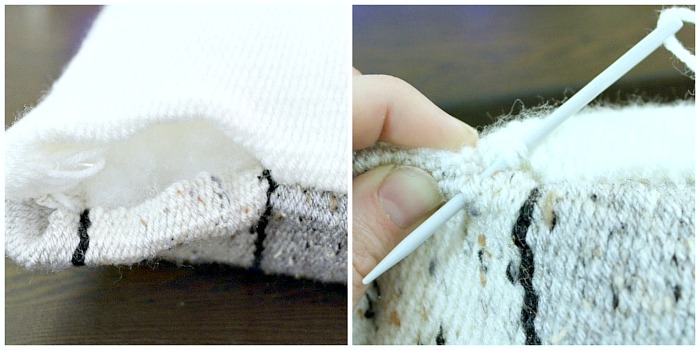
Step 6: Stitch Together
Place the two weavings together, with the good sides facing one another.
Measure and apply tape across the edges. This will guide your stitching so that it is as straight as possible. Pin the two weavings together.
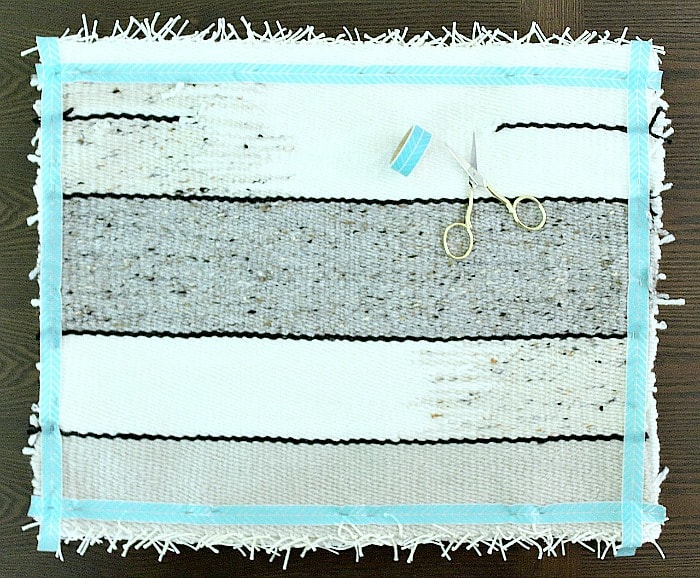
Thread your darning needle using the same cotton or hemp yarn you used to create your warp. Begin stitching your weavings together.
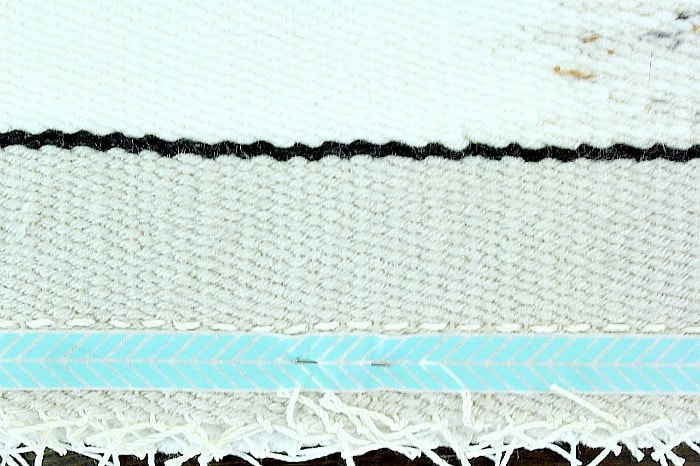
Make sure to leave a large enough space unstitched for the final steps. I left about 5 inches of space. You may need more, depending on the size and thickness of your pillow cover. Remove the pins and tape.
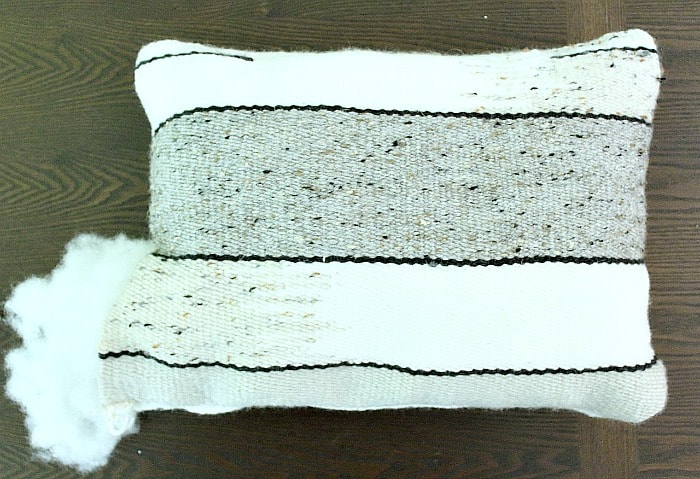
Step 7: Stuff & Stitch
Turn your pillow cover inside out gently pulling the material through the 5 inch space available.
This is when things get really exciting and you begin to see your weaving transform into a pillow! You’re in the home stretch now
Stuff the inside of your pillow cover with stuffing.
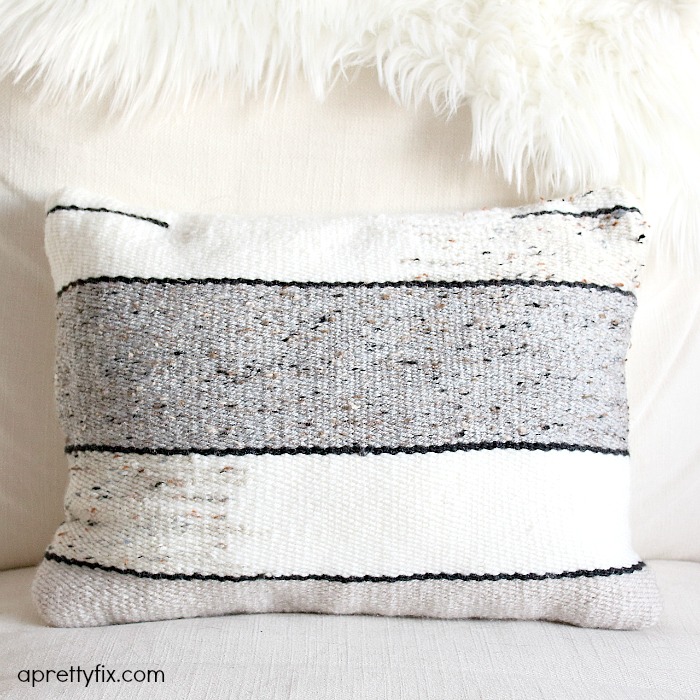
Stitch up the last 5 inches by tucking in the edges and stitching it up from the outside, this time using one of your yarns.
And, voila! You have just created a charming, woven handmade pillow!
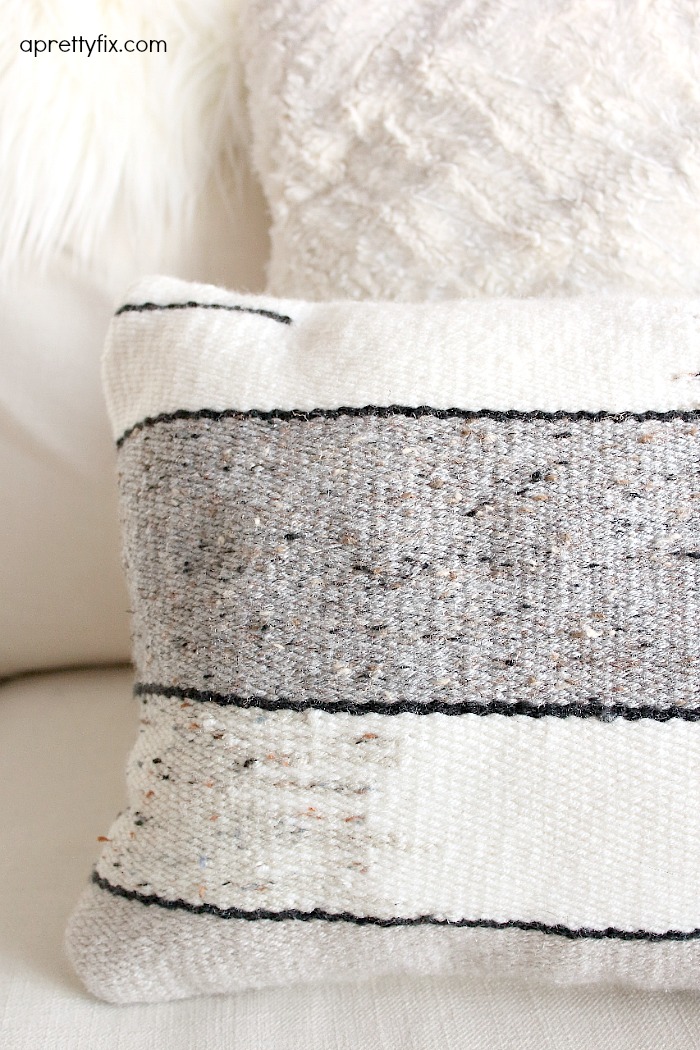
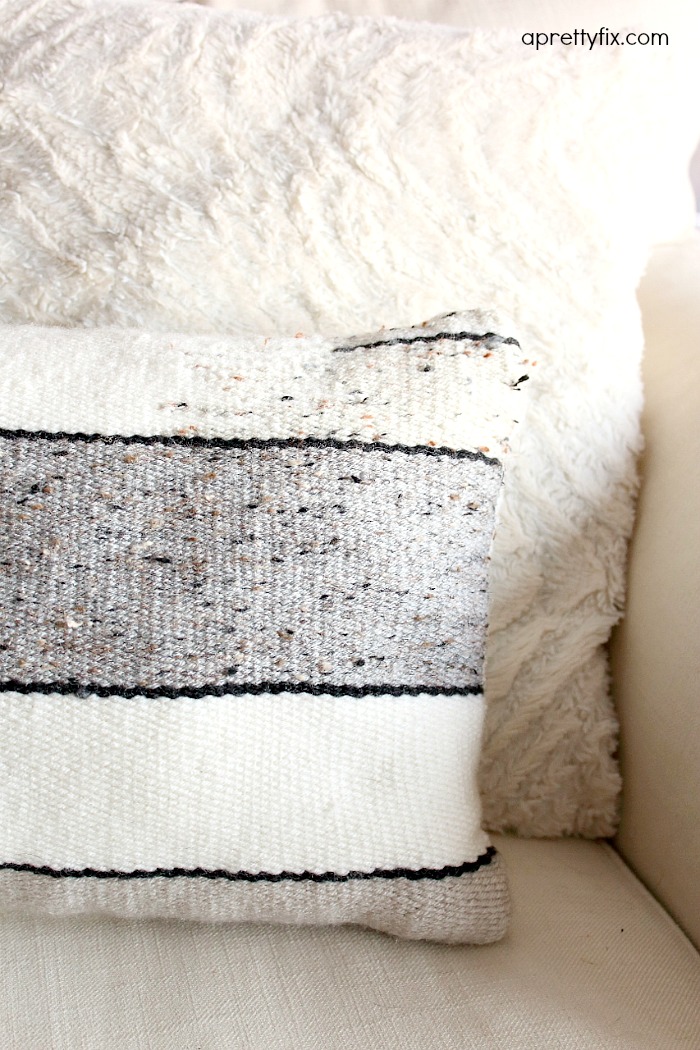
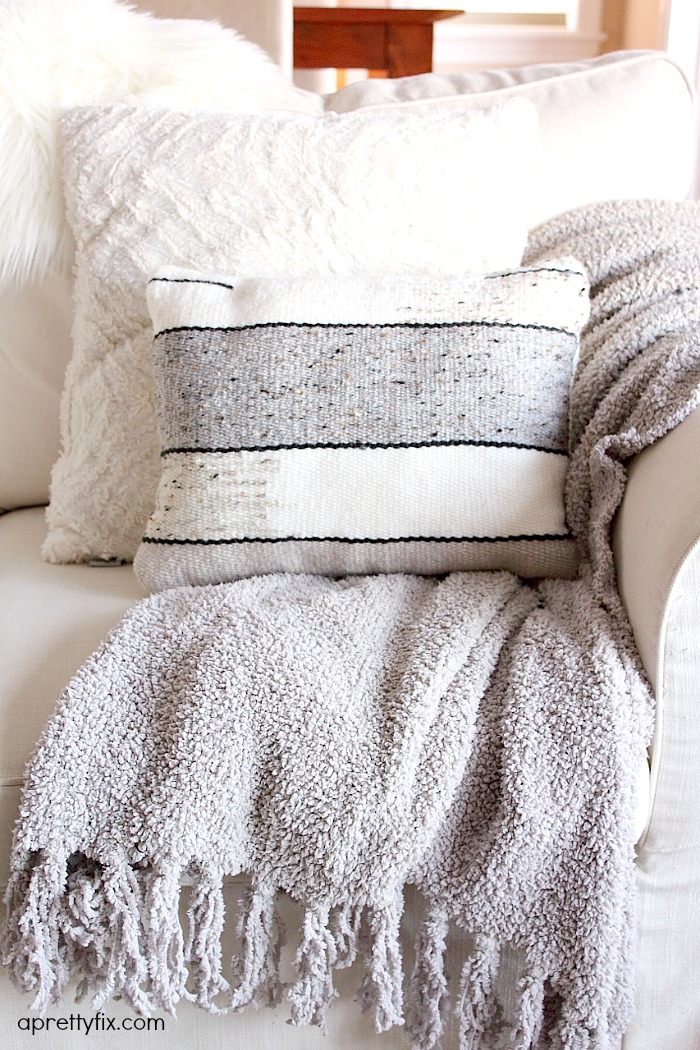
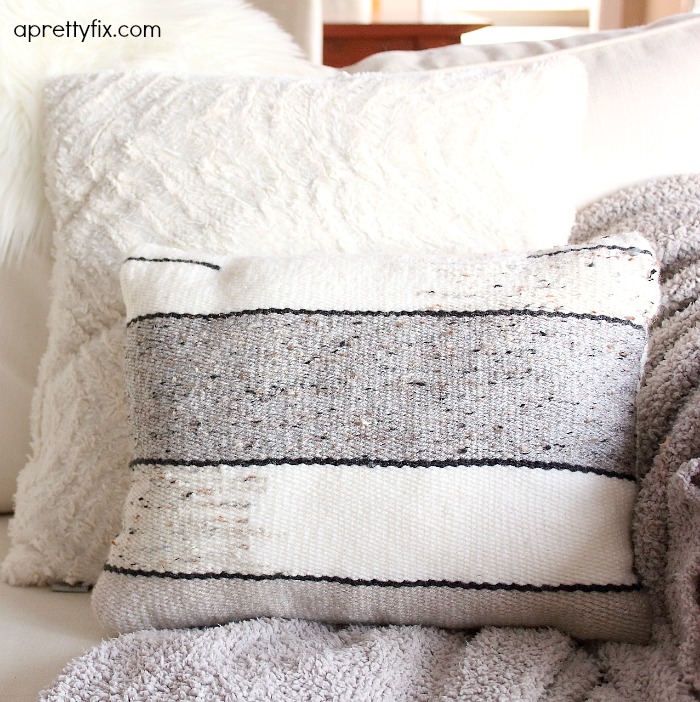
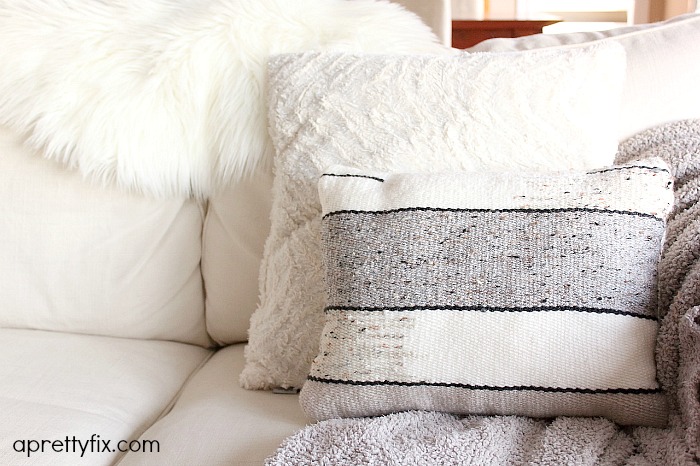
This is a simple project, but by no means a quick one. Weaving takes time, yet it is an incredibly relaxing activity for those of us wishing to slow down a little. I recommend taking a weekend or two to complete this one. But it is well worth the effort if you enjoy the creative process and love unique, handmade home décor as I do.
Happy Weaving!
![]()
![]()


Follow Jelica and A Pretty Fix – Blog / / /
Oh wow this is beautiful! I’d love to try this. 🙂
Thanks for sharing with us at #MMBH!
xoxo
WOW, seriously! Love this so much. Pinning! Thanks for linking up to the Creative Gallery!
Wow! This is so great. I have a small loom that I have done a few fun things with, now I want to make a pillow like yours. So beautiful and inspiring.
It’s gorgeous, really beautiful but I am left wondering how this is a “no sew” pillow !
I’m actually pleased it sewn together as it always seems a shame when things are just glue or made using tape that you just know wont last. This is something made to be enjoyed for a long time.
Glad everyone enjoyed the post 🙂 I loved putting it together 🙂
Hi. What a gorgeous blog. I’d love to make this cushion for my sister ! Those colours are just her to a T! Do u remember what brand name/colours you used? Thank you.