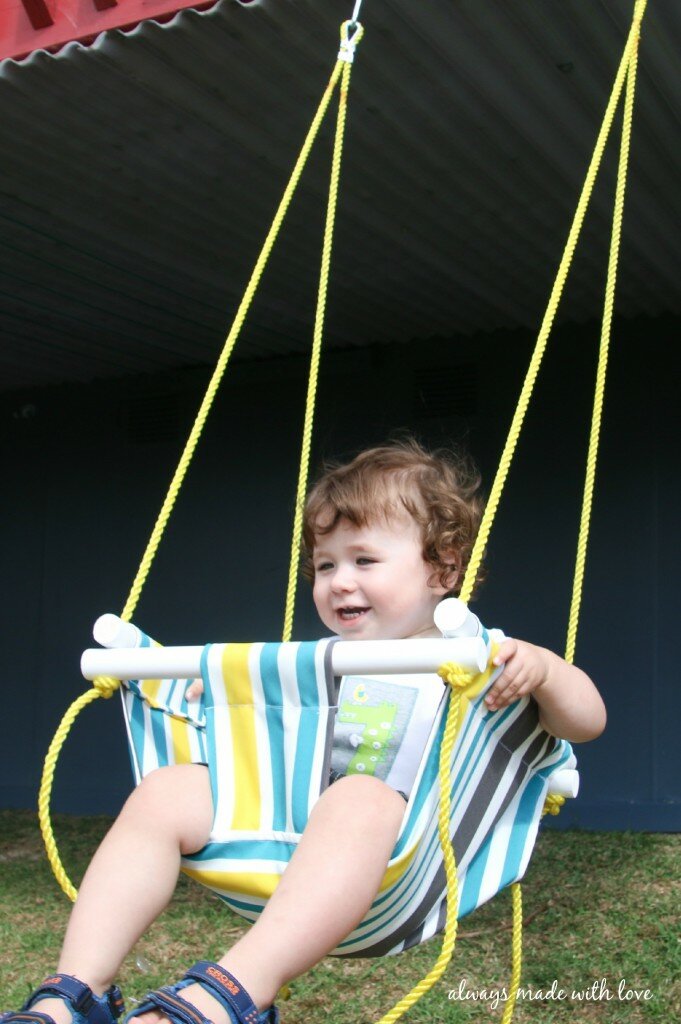
 At the beginning of last Summer, Sebastian was in need of a new swing. He had, had a swing and he LOVED it, however, it was one of those brightly coloured plastic ones and after a year of being out in the elements it was starting to perish and I was no longer keen for him to go in it. So, he was in the market for a swing. This time round, I was not that keen to head down the plastic route and was after a more long term robust option, which after scouring the internet I was fortunate enough to come across here.
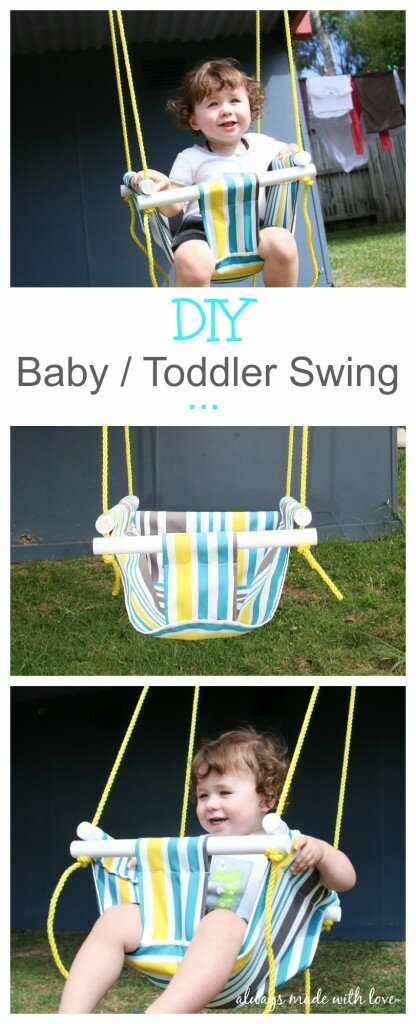
It is perfect – bright, colourful, fun, safe and easy to make too. And an added bonus – Sebastian loves it and would quite happily spend fifteen minutes in it at a time (which when your little guys loves to be on the go the whole time.. this is a LOOOONG time).
It is a fairly simple project and if you have a bit of sewing knowledge and DIY know how you will be able to whip it up no problem. Or, you can totally do what I will happily admit I did and ask my hubby and Mum. I am sure I could have figured out my Mum’s sewing machine but it wouldn’t have been no where near as fun as the two of us doing it together one afternoon. As for hubby, DIY is right up his alley and I think he would have been a tad insulted if I had taken to the power tools myself.
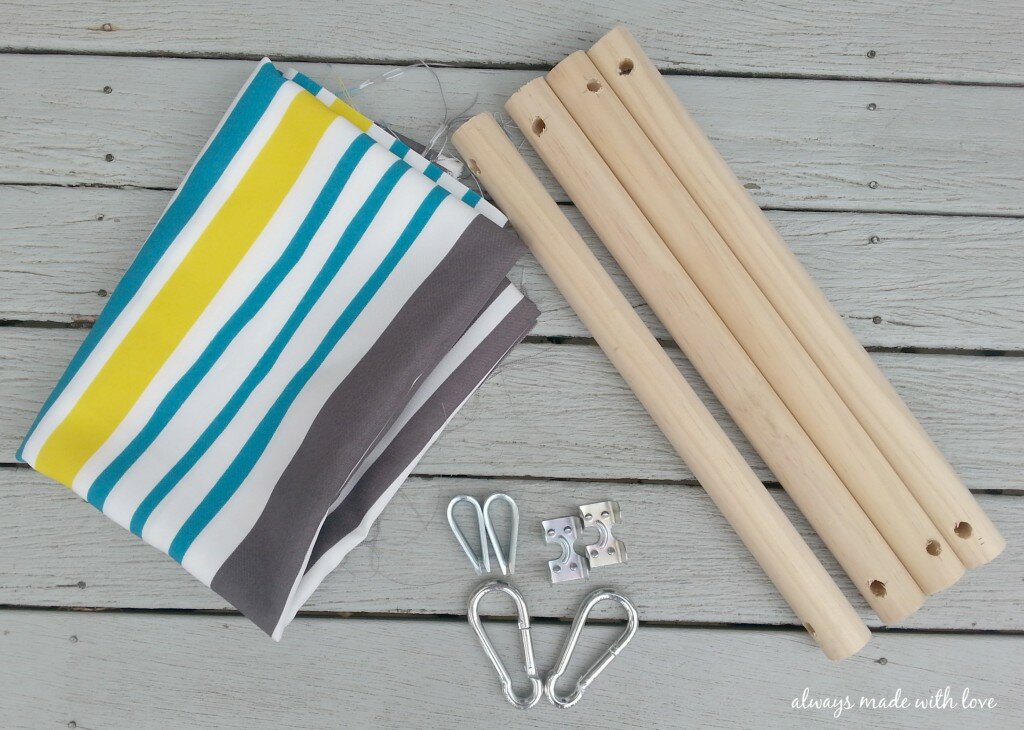
To make this Baby / Toddler Swing you will need:
- 1.8 metre approx. (2 yards) home décor outdoor fabric, if your fabric has a pattern or a stripe, you may need more
- Sewing machine, thread, and your typical sewing notions
- 4 x 2.8cm (1 1/8″) round dowel cut to 40 cm (16″)
- 2 x 1 cm (3/8″) thick nylon rope cut to 3 metres (10 feet)
- 2 x rope clamps and thimbles
- 2 x 1 cm (3/8″) spring link / carabineer
- 2 x galvanised eye hooks, for hanging (or, whatever method you prefer)
- Hammer
- Drill with 1 cm (3/8″) drill bit
- Miter saw, handsaw, or circular saw
- Sand paper (medium grit)
- Paint
We’ll start with the sewing:
Cut 2 x 92 cm by 36 cm rectangles (36 x 14″); 2 x 36 cm by 28cm rectangles (14 x 11″); and 2x 28 cm by 15 cm rectangles (11 x 6″) – if you are dealing with stripes, it will look best to have the stripes on the largest piece one way, and the stripes on the smaller pieces the opposite way
Take the 2 smaller sets of rectangles and place them right (print / pattern) sides together. Using about a .9cm (3/8″) seam allowance, sew together on 3 sides; leaving one 14″ and one 6″ side open. Snip the 2 fully sewn corners to allow for space and turn right sides out. Top stitch along the 3 closed sides
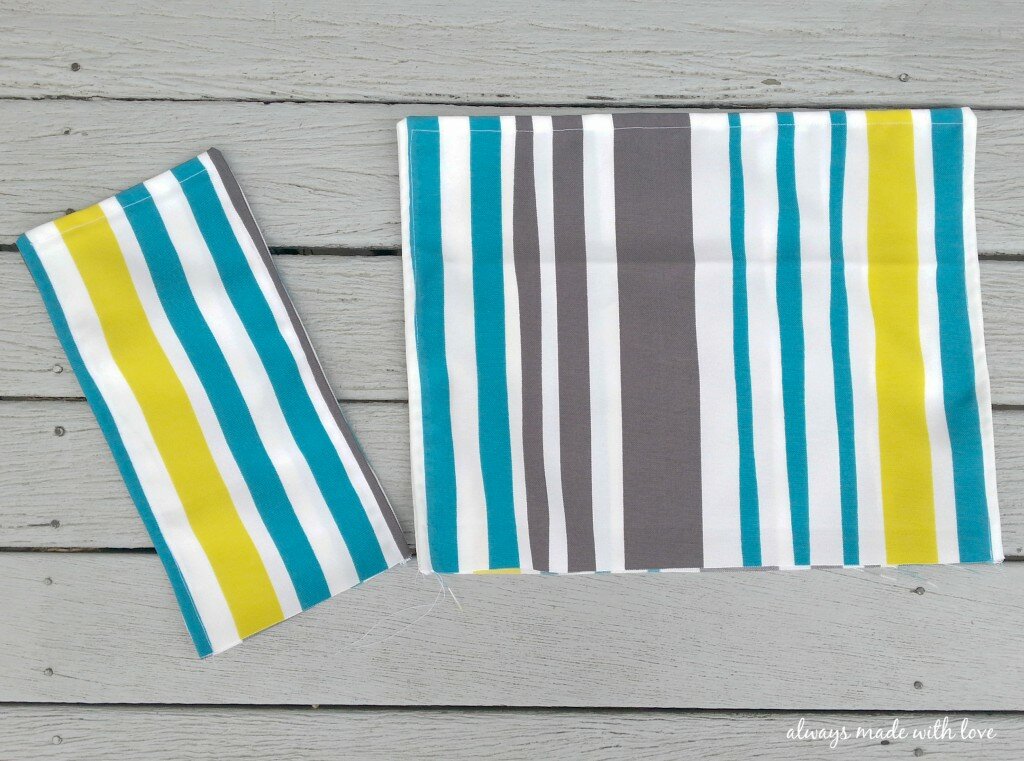 Find the centre of one of the biggest pieces – 92 x 36 cm (36 x 14″); place the open end of the 36 x 28 cm (14 x 11″) piece centered on one side and the open end of the 28 x 15cm (6 x 11″) piece centered on the other side. Pin in place. Place the other largest rectangle – 92 x 36cm (36 x 14″) piece right side down and pin everything together. Sew around the edge, leaving about an 20 cm (8″) opening on one of the shorter sides
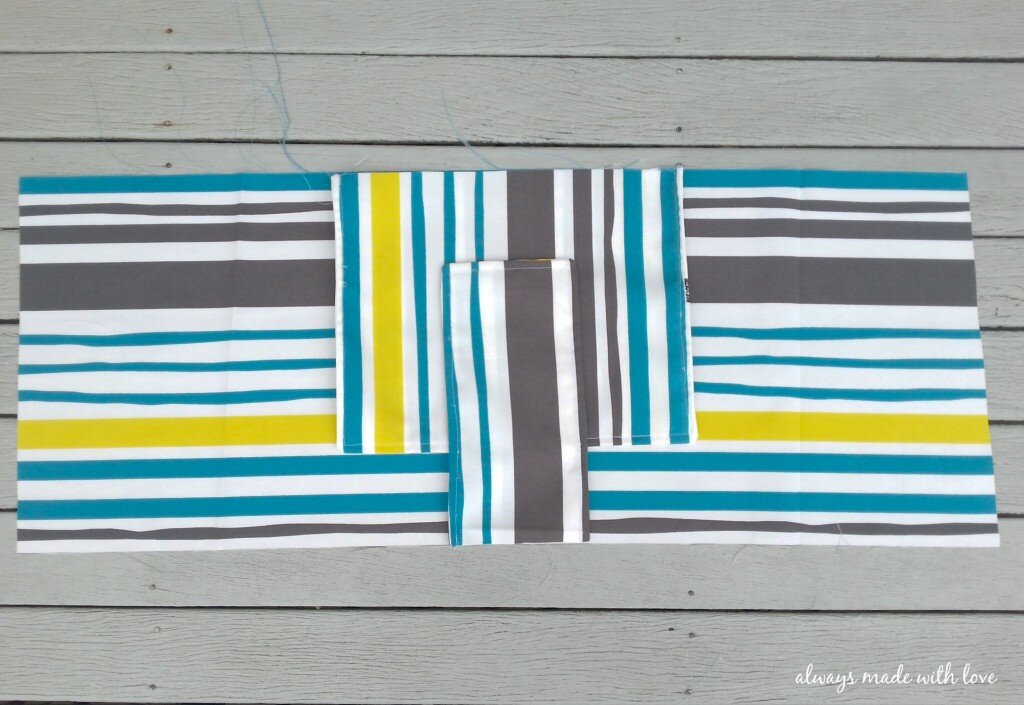
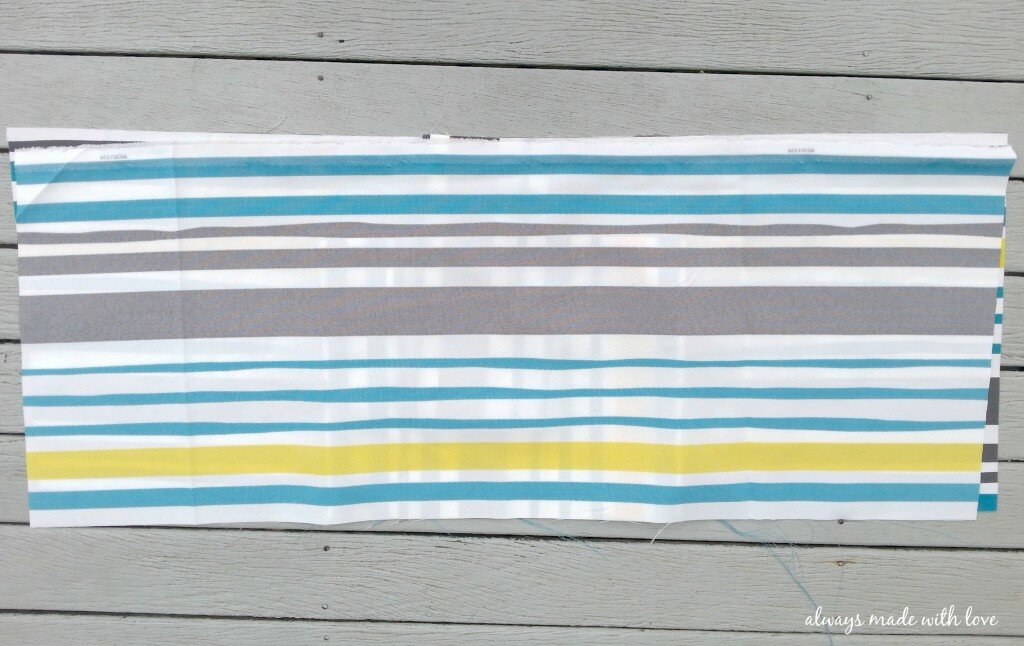 Trim all 4 corners and turn the swing right side out. Make sure all of the corners are crisp by running your finger along the inside seams to ensure the fabric is fully turned. Turn the fabric under in the opening you left to match the rest of your edges
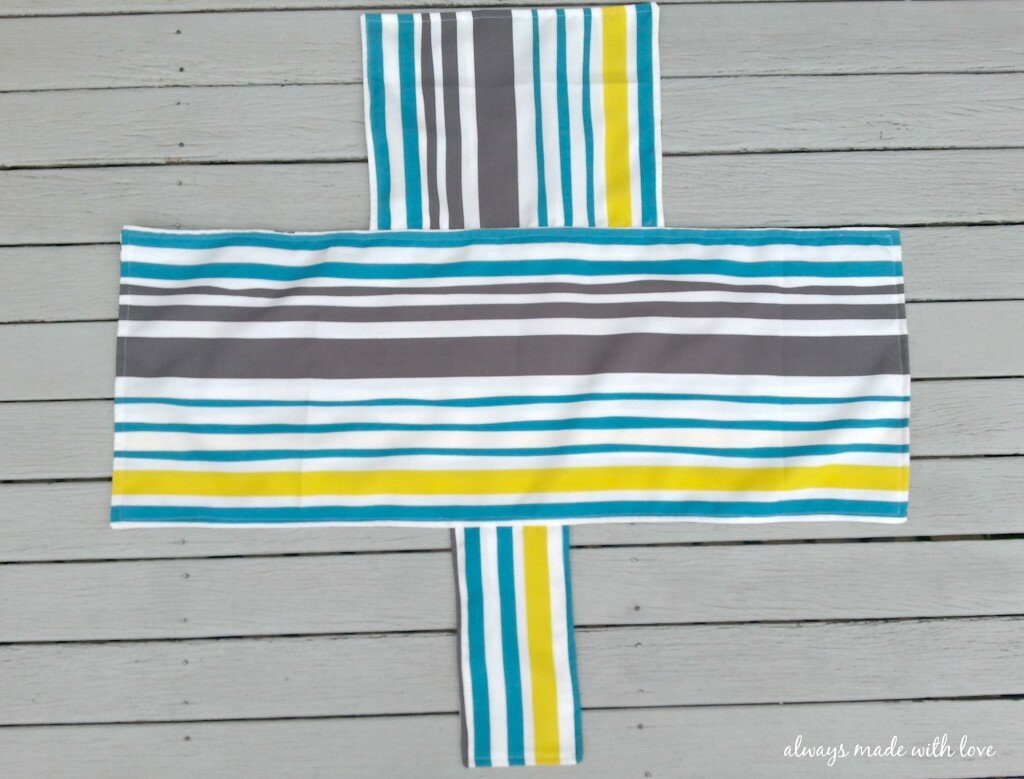 Topstitch the entire middle rectangle
Fold over 8 cm (3″) on all 4 sides and sew across, using your top stitch as a guide, creating the pockets for the dowels
Now on to the DIY:
Steve loves DIY and always seems to have the right tools for the job. For this particular job he used the drop saw and drill press however, any of the above saw’s will do the trick as will a normal drill
Cut 4 x 40cm (16″) dowels and sand the ends – this is just personal preference. On ALL 4 Dowels drill a 1 cm (3/8″) hole at around 2.5 cm (1″) in on both ends. Paint – again, this is just personal preference
Take the 2 x 3 metres (10 foot) ropes, find the half way mark and run the rope over the thimbles. Attach the rope clamps around each piece of rope using a hammer. Attach the spring link / carabineer through the thimbles (if you are unable to get thimbles, then you could use this method here with the additional rings)
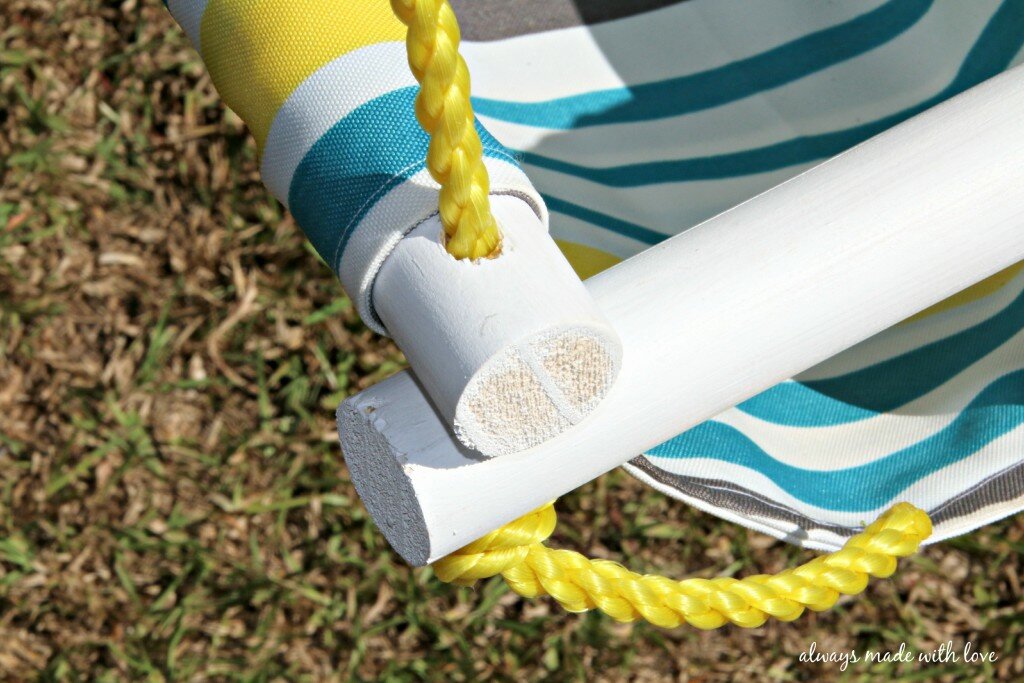
Now you want to thread the dowels through the pockets. Once they are in the pockets, you want to ensure the dowels at the side are on top of the front and back dowels
Thread the rope through the holes, one rope on each side. Tie securely with an overhand or stopper knot. We waited until it was hung up to fully tighten the knot so we could make sure it was at the right height. Trim the ends of the rope, so only about 5cm (2″) is hanging below, at this point because we were using a wax coated rope we sealed the ends using heat (match / lighter / soldering iron)
Hang it up – there are so many different options here depending upon what you’re attaching it to. We hung ours under our deck using galvanised eye hooks, clipping the spring links through them; it is the perfect spot for those hot Summer months as it is partially in the shade
Finally, enjoy the hours of fun your little one will have chilling in their new swing!!
 This was such a fun project to do with the best part being Sebastian gets so much fun and enjoyment out of it. I can’t wait to tackle more DIY projects with him in mind, especially when he’s so happy with the outcome – because when he is happy, so am I!



What a great idea Lydia! Sebastian looks like a very happy boy in his new (made with love) swing! Easy tutorial to follow too…have pinned in!!
Yay! Good luck if you decide to make it 🙂 I am sure your little man would love it too xx
I love the swing… and it’s gorgeous!
How clever.
Thanks for sharing.
xoxo
Love this! It’s such a good idea, I might have to give it a go 🙂
Thank Tegan, we had so much fun putting it together and Sebastian loves it – so worth it xx
Just gorgeous and the swing is too! Those curls! I love the fabric you chose. Nice work x
Thank you – it was so much fun to do. The best part is he loves it 🙂
WOW! Love this idea! I would LOVE to make one of these for our son at the cottage! Such cute pics! 🙂
I’ve pinned this to the Ladies Collective Linkup Pinterest board! Hope you’ll come back and linkup again this Wednesday! <3
Stephanie @ http://www.mommyzoid.ca
Thanks! I am sure your little one will love it too 🙂 Happy making xx
Oh my goodness how cute is that swing?! You are so clever to make one yourself. I never would have thought to do that.
And your little one looks like you. What a cutie!
Thanks Tiffany! I cant take credit for making it but I did have the idea – heheh… 🙂
Love the bright colours. So much better than the plastic ones! Thanks for sharing on my #BlogFairLinkParty at mummydoit.co.nz
Thanks Karen.
Good on you for hosting a great link up xx
Love this DIY Lydia 🙂 Thank you so much for sharing at Turn It Up Tuesday. Look forward to seeing you again next week for another great party! Have a great weekend friend! xxx
Thanks hun. Not the right time of year for this kind of DIY where you are but maybe come Summer 🙂
Catch you next week xx